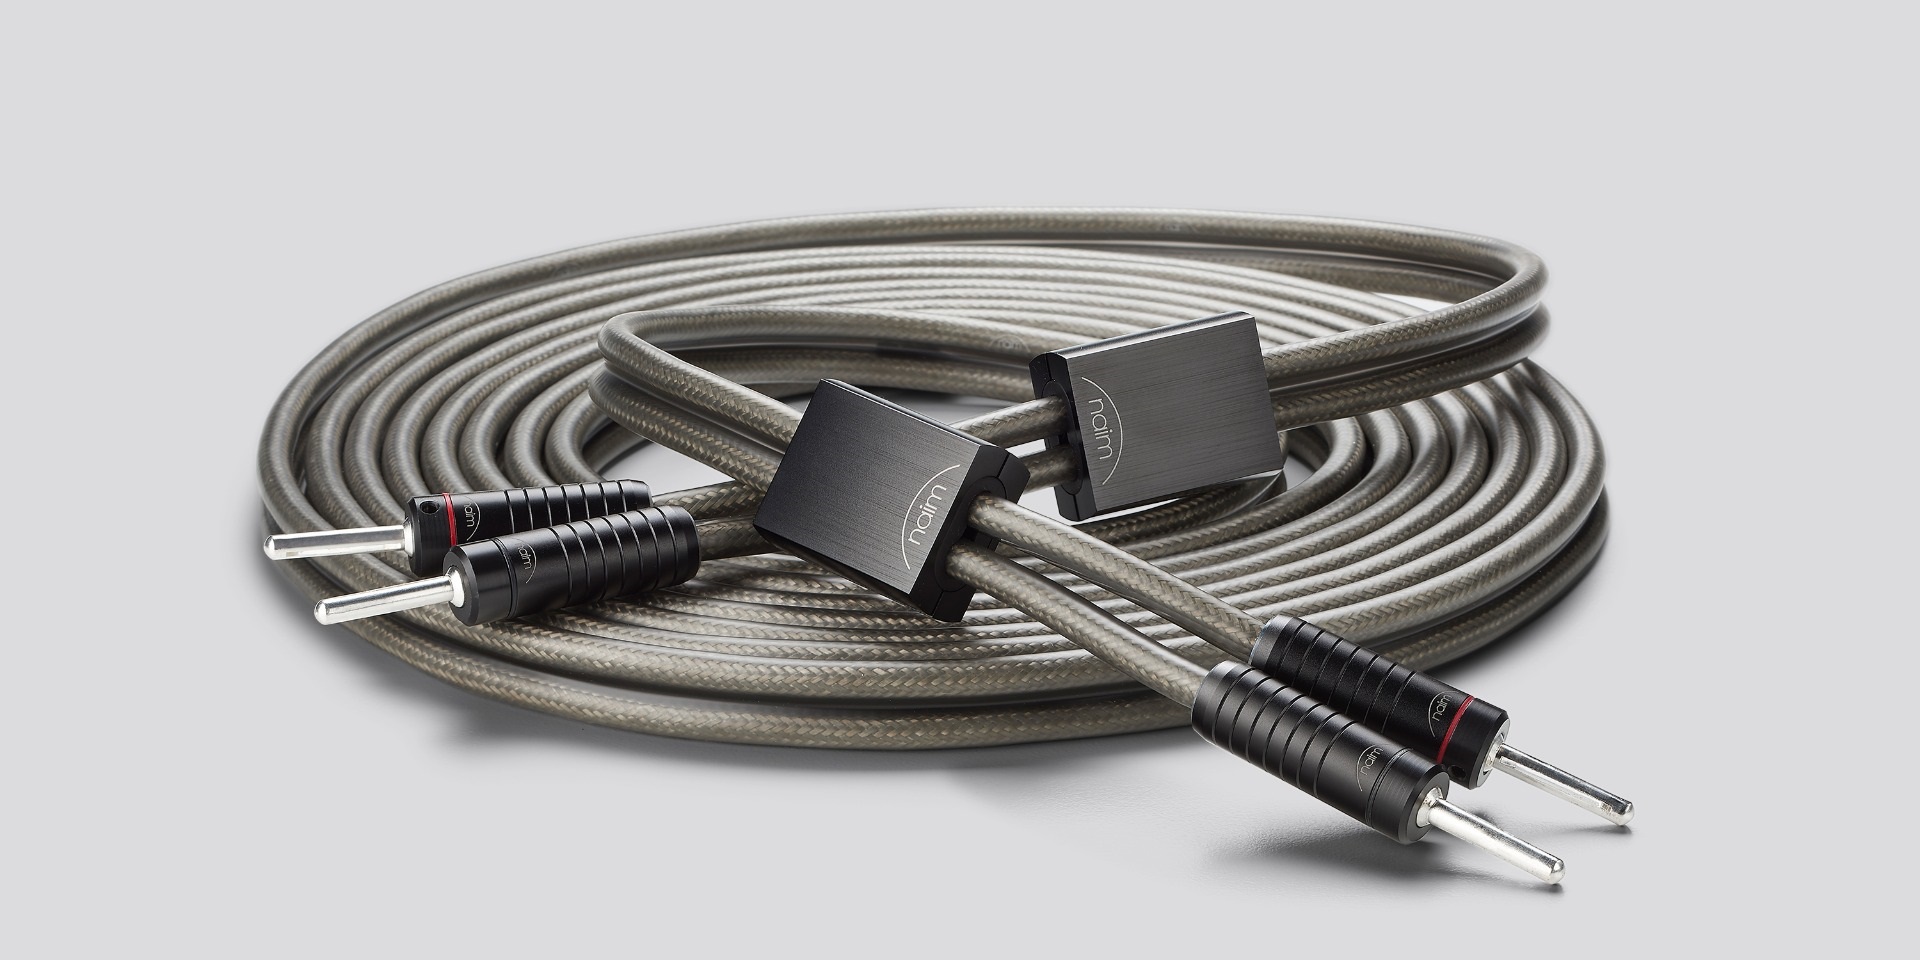
The splice speaker wire technique is employed in various scenarios, ranging from customizing audio setups to extending speaker cables for optimal placement. This technique can not only raise your technical level but can also help optimize your system in certain cases.
My guide will explain how to connect speaker wires together, as well as offer insights into the techniques and safety precautions that form the foundation of successful splicing.
Why splice the speaker wire?
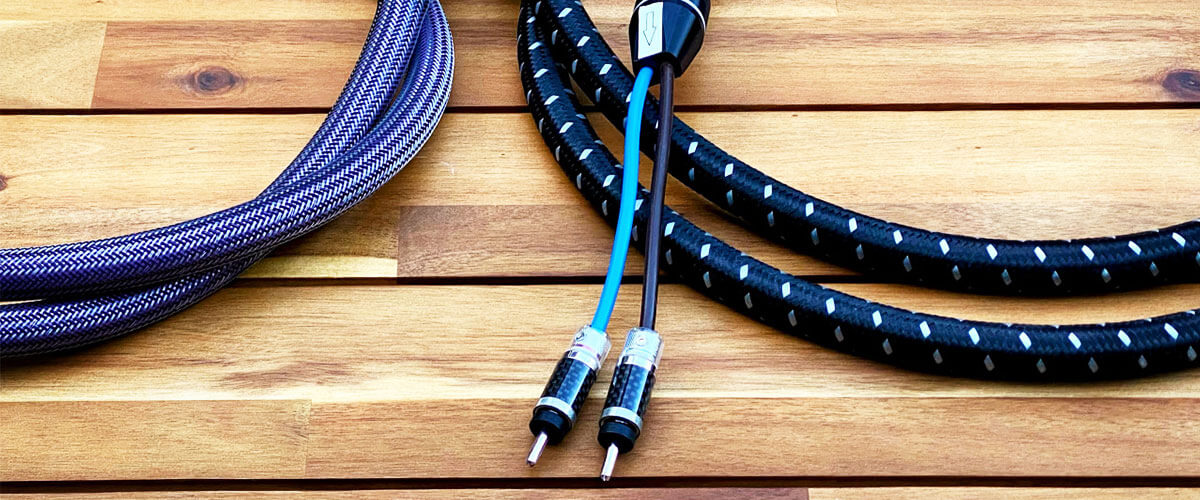
Splicing speaker wire involves connecting two separate lengths of wire to extend the overall length or to facilitate connections in specific situations. When the distance between the AV receiver and the speakers is greater than the length of the available wire, splicing allows for speaker wire extension without needing an entirely new, longer cable.
In home theater setups, where wiring may need to navigate through walls, ceilings, or other concealed spaces, splicing enables you to create tailored lengths of speaker wire to fit the room’s layout. For aesthetic reasons, users may want to hide wires behind, and splicing offers discrete wire routing without the need for excessively long cables.
In cases where a section of speaker wire is damaged or needs replacement, splicing is a practical solution. Rather than replacing the entire length of the wire, you can cut out the damaged section and splice it into a new piece.
Types of wire splices
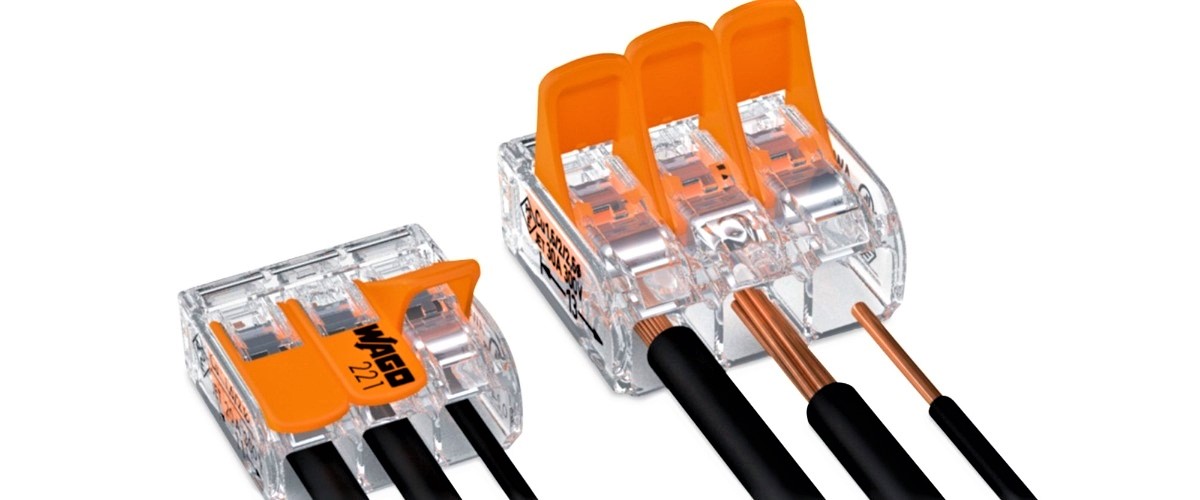
There are several types of wire splices, each with advantages and best-use scenarios. Also known as wire nuts, twist-on connectors are cone-shaped devices with internal threads. They are twisted onto the exposed ends of the wires to create a secure connection. Commonly used in residential electrical wiring and audio applications.
In a soldered splice, the exposed ends of the wires are heated, and solder is applied to create a solid and permanent connection. It’s often used in applications where a low-resistance, secure connection is required. A crimped splice involves using a crimp connector or terminal to compress and secure the exposed wire ends. A crimping tool is typically used to ensure a tight connection.
After extending the speaker wire, heat shrink tubing is slid over the splice area and then heated to shrink, providing insulation and protection. This is required in environments where moisture or heat resistance is essential. There’s also the Western Union splice type. Wires are intertwined by wrapping one wire around the other in a helical design, creating a secure connection. The joint is then soldered. Nowadays, it is less common but occasionally used in specific situations. Similar to the Western Union splice, the lineman’s involves wrapping one wire around the other in a specific manner for increased strength.
In wire wrapping, a thin, tightly wound wire is wrapped around the exposed ends of the joined wires to create a mechanical and electrical connection. This type is often used in circuit board applications. The last type is compression splices, which use a compression tool to crimp a metal sleeve or barrel around the connected wires, creating a secure and robust connection. It’s quite common in power distribution.
Impact on sound quality
I’d say that the way you splice the audio cable, the quality of the materials used, and the overall design of the audio setup greatly affect the sound quality. Even the minor nuances are important. Poorly executed splices can introduce additional resistance to the electrical pathway, affecting the impedance of the circuit. This increased resistance can lead to signal degradation, impacting the efficiency of power transfer and potentially affecting sound quality.
Soldering and crimping methods, when done correctly, can provide a secure and low-resistance connection, minimizing the impact on signal integrity. However, if splices are not properly executed, they may introduce signal reflections, distortions, or losses that could affect the clarity and fidelity of the audio signal.
Remember that high-quality materials designed for audio applications are less likely to introduce unwanted effects on sound quality. The impact of wire splices must be considered within the broader context of the entire audio system. In high-end audio setups, where components are carefully selected for optimal performance, the influence of splices may be more noticeable compared to simpler systems.
Safety considerations
Understanding wire specifications
The gauge of a wire indicates its diameter and, consequently, its capacity to carry current. Smaller gauge numbers represent thicker wires with lower electrical resistance. Proper matching of the wire gauge ensures that the wire can handle the current without overheating. Using an insufficient gauge for the current load can lead to excessive heat generation, potential damage, and even fire hazards.
The material of the wire conductor (e.g., copper or aluminum) affects its conductivity and resistance. Copper is highly conductive, making it a common choice for efficient electrical transmission. Using the wrong material may result in higher resistance and energy loss.
The voltage rating specifies the maximum voltage the wire can handle safely. Exceeding it may lead to insulation breakdown and electrical arcing. The temperature rating indicates the maximum temperature the wire can withstand without degrading. Choosing a wire with an appropriate temperature rating ensures it remains stable and safe in the expected operating conditions.
Proper insulation techniques
Short circuits occur when current flows along an unintended path, often bypassing the intended load. This can result in overheating, damage to components, and pose serious safety hazards. So, proper insulation is required for this case. Insulation acts as a barrier that prevents the unintended contact of conductors, minimizing the risk of short circuits. In audio systems, especially those using low-level signals, insulation helps prevent interference from external sources. In addition, it protects spliced joints from environmental factors such as moisture, which can lead to corrosion and electrical malfunctions.
I recommend vinyl or rubber-based electrical tape for wrapping joints. But you must realize that electrical tape is suitable for temporary or low-risk applications. Therefore, I always try to wrap it in multiple layers to increase protection.
Another method is the tubing made of shrinkable material (such as polyolefin) that contracts when heated, providing a tight seal around spliced joints. In my opinion, it is inexpensive, strong, and durable insulation.
Liquid insulation that can be brushed or dipped onto spliced joints also can be used. It dries to form a protective, flexible coating. I use it for irregular shapes or hard-to-reach areas to have a seamless and waterproof seal.
Some connectors come with integrated insulation, simplifying the splicing process and ensuring a secure, insulated connection. This is ideal for quick and reliable splices, especially if you prioritize simplicity and efficiency.
Testing connections safely

When dealing with home audio setups, following proper safety considerations is important. Before splicing the audio wire and testing, ensure that the power to the circuit or system is turned off. This prevents the risk of electric shock and protects you from potential injury. Inspect the splice visually for any signs of damage, exposed wires, or irregularities. Also, check for proper insulation, ensuring all connections are covered and protected.
I’d recommend using a multimeter to measure the resistance across the spliced connection. Compare the results with the expected or acceptable value for the specific application. Abnormal resistance values may indicate issues such as poor connections or unintentional short circuits. Use the continuity function on a multimeter to check for a continuous path between the connected wires. It helps verify that the intended connections are established and that there are no unintended pathways.

