In order to build a complete home theater setup, not having such a critical component as a subwoofer will be challenging. Well, you can, but the experience won’t be as cool. Its role goes beyond simply making explosions louder; it’s about creating a more immersive and captivating environment. I think you already know this, but you want to get the most out of your sub, and that’s why you decided to read my article. So, if you notice that your equipment lacks impactful depth, I have something to tell you and explain how to make a subwoofer box louder.
Understanding home theater subwoofer boxes
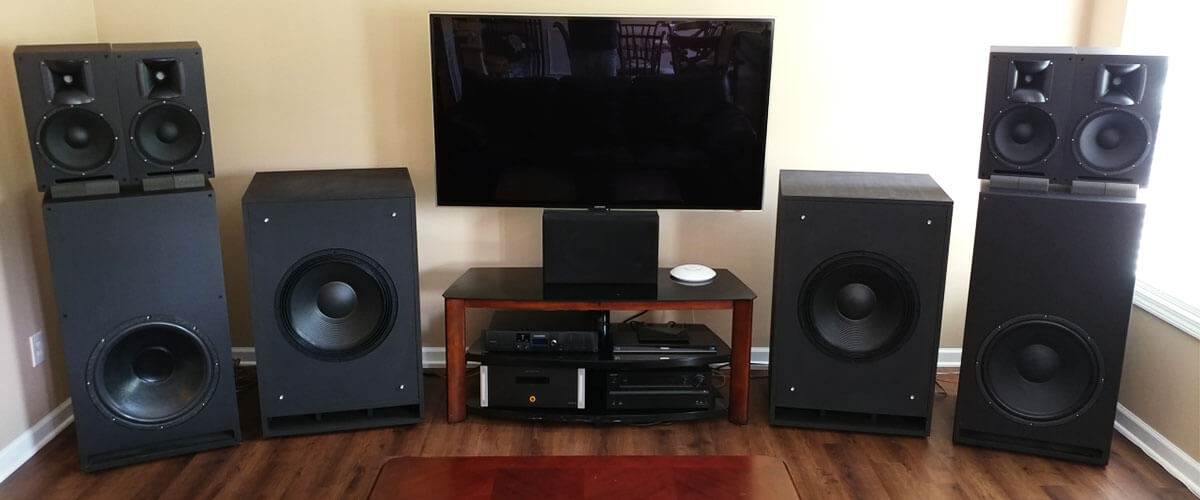
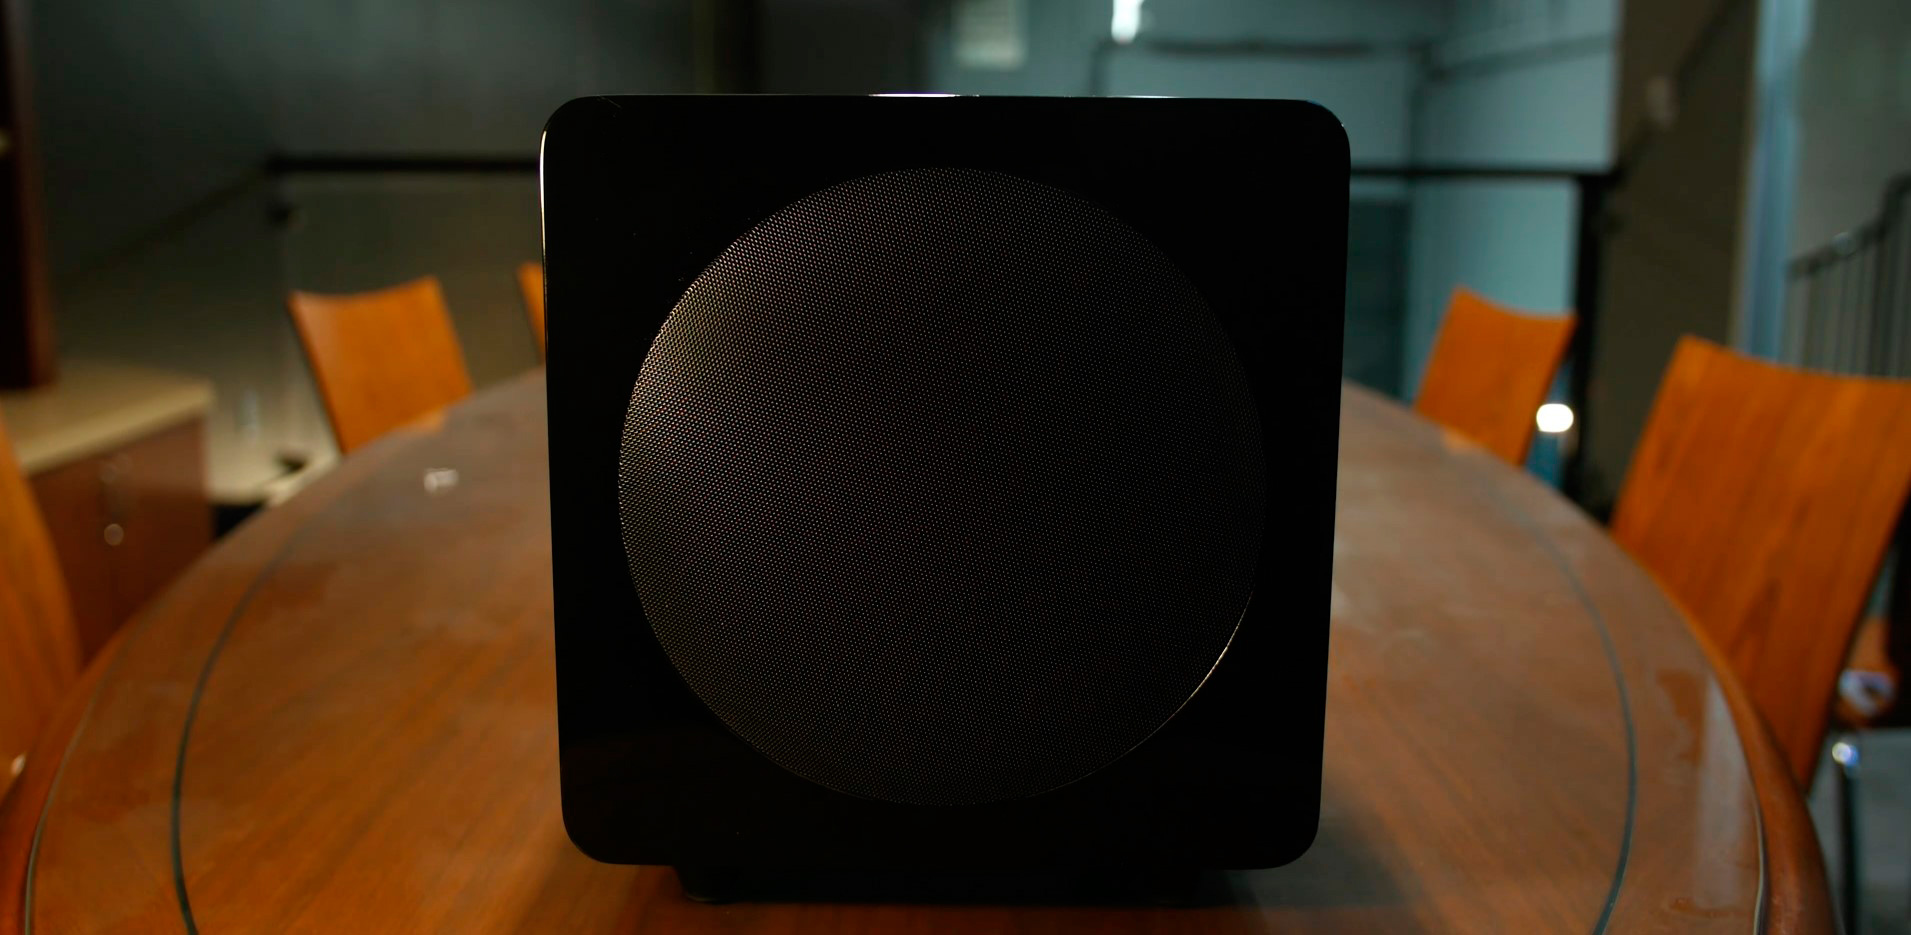
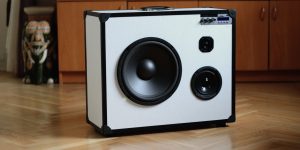
A subwoofer box is a specially designed container that houses a subwoofer speaker. The purpose of it is to optimize the performance by providing a controlled environment for the speaker to operate within. These boxes come in various designs and sizes, each influencing the way the subwoofer interacts with the surroundings and, consequently, how it produces low-frequency sound.
The sealed box type is airtight, providing a simple and compact solution. Sealed boxes offer tight and accurate bass reproduction but may require more power to produce lower frequencies compared to other designs.
Ported boxes include a tuned port or vent that allows air passage in and out of the enclosure. This design enhances low-frequency efficiency, increases bass in the subwoofer box, and makes it deeper. They are larger than sealed boxes and are often used when a more “boomy” bass is desired.
Bandpass boxes are a combination of sealed and ported designs. They have a chambered and ported section that allows specific frequencies to pass through, resulting in a narrow band of frequencies being reproduced. They are more complex and are designed for specific frequency ranges.
In a free-air setup, the subwoofer is mounted on a board or panel separating the front and rear soundwaves. The rear waves are allowed to dissipate into a large space. This design is often used when a dedicated subwoofer box is impractical.
As you can see, there are quite a lot of options. But how do you choose the right one for you? I will tell you about it in the next section.
Choosing the box type
The type of box you select can significantly impact the bass response. The genre of music you listen to can also influence the ideal subwoofer box. Sealed boxes generally provide accurate and tight bass suitable for various genres, while ported boxes might be preferred for music that demands deep and resonant bass.
Consider the available space in your home audio setup. Some boxes, like sealed enclosures, are more compact, making them suitable for limited spaces. That’s why ensure the chosen box fits comfortably in your location.
Take into account the power handling capabilities of your subwoofer. The ported enclosures may require more power to produce certain frequencies. Make sure that your amplifier can adequately power the subwoofer in the chosen box. The Thiele/Small parameters are a set of specifications describing a subwoofer’s behavior in a specific enclosure. These parameters include Qts, Vas, and Fs. Matching the box type to them can help optimize performance.
Amplification and calibration
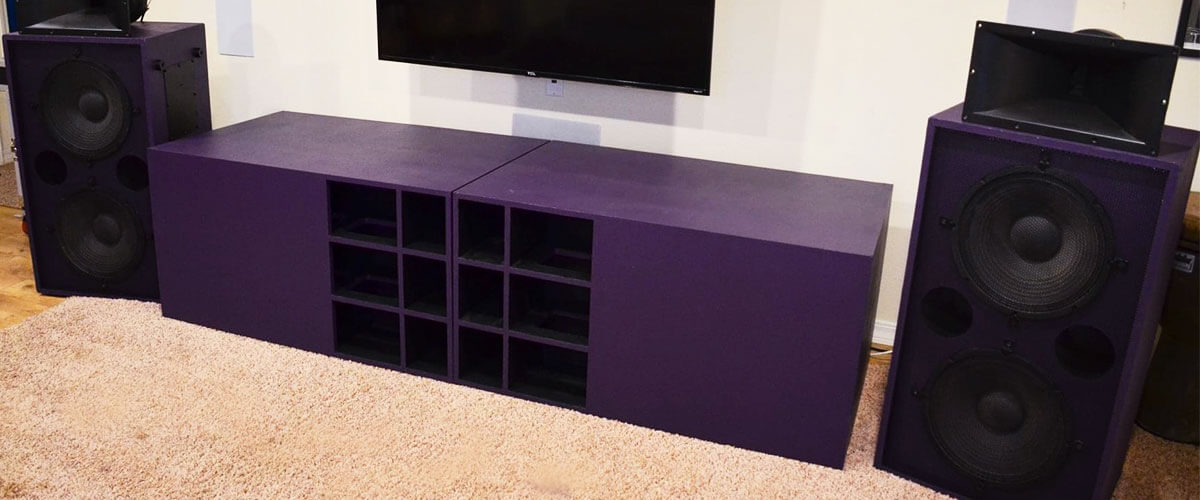
As I’m sure you know, AVR acts as the central hub for audio signals in a home theater setup. The receiver’s internal processing includes bass management, determining how low-frequency signals, typically directed to the subwoofer, are handled. This ensures that low-frequency content is properly redirected to the subwoofer for optimal bass reproduction.
AV receivers come equipped with a dedicated channel for the subwoofer. They amplify the audio signals and distribute power to the subwoofer to drive the speaker and produce low-frequency sounds. Some AVRs also offer the option to use an external power amplifier for the subwoofer if more power is needed.
Calibrating a subwoofer involves adjusting its settings and integration with the overall audio system. Experiment with different positions to find the optimal location for even bass response. Corners or along walls are common placements, but the ideal position may vary depending on room acoustics.
You should start with the subwoofer volume set to its minimum level. This ensures that you have room to increase the volume during calibration without risking distortion or damage. Temporarily disable any room correction or equalization features on both the AVR and the subwoofer. These features can be used later in the calibration process. In the receiver’s settings, look for the speaker setup or audio calibration section, where you’ll find options to configure your subwoofer.
Set the crossover frequency on the AVR. A common starting point is 80Hz, but you may need to adjust based on your specific speakers and room acoustics.
Some subwoofers and AVRs include a phase control. Find the position that results in the most seamless integration between the subwoofer and the main speakers. Typically, set the phase to 0 degrees initially. Then, increase the subwoofer volume to a level that complements your main speakers, but be mindful of making the sub louder.
Sound processing and equalization
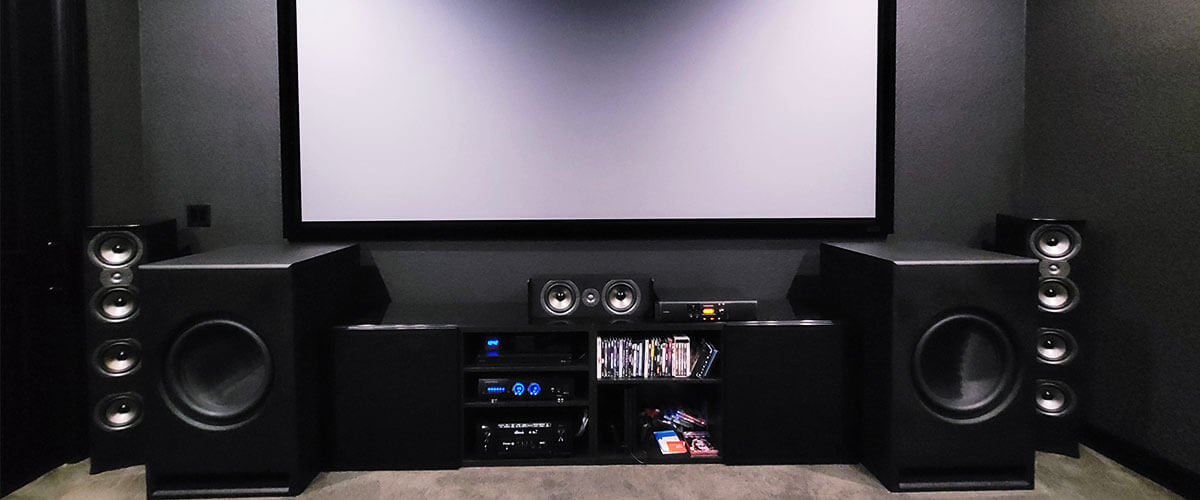
Calibration systems, often integrated into AV receivers, use microphones to measure the acoustic characteristics of the room. They analyze the frequency response and time delays of audio signals, identifying peaks and dips in the bass response. The system then applies corrections to fix these issues. They also help configure the crossover frequency based on the specific characteristics of your speakers and room. This approach ensures a smooth transition from the main speakers to the subwoofer and that each speaker reproduces the frequencies it can handle most effectively.
Equalizers can be used to apply targeted adjustments to specific frequencies, compensating for peaks and nulls caused by room modes. This process allows users to fine-tune the subwoofer’s output to achieve a more linear and accurate bass response.
If your AV receiver includes a calibration microphone, make sure to use it. Perform the calibration process in the actual listening environment where the system will be used. Before calibration, to build a subwoofer box for deep bass, place it in a location that provides even bass distribution. Verify and, if necessary, adjust the crossover settings on your AV receiver or processor. The crossover frequency should be selected based on the capabilities of your main speakers and the recommended settings for your specific audio setup. Consider re-calibrating your system periodically, especially if you make changes to your room setup or audio components.
Acoustic treatments
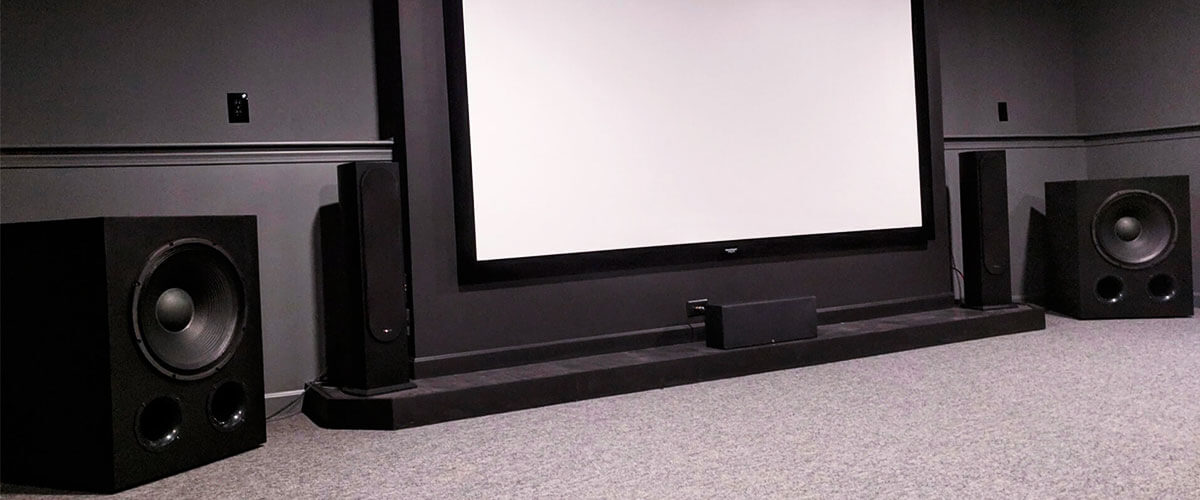
Factors such as room dimensions, wall materials, and furniture placement can impact bass response and make a sealed box louder. Analyzing these aspects helps in identifying potential issues and implementing optimal solutions.
I want to tell you more about some interesting devices. Placing bass traps in strategic locations within a room helps absorb and control low-frequency sound waves. Diffusers can also be used to scatter sound, reducing the likelihood of standing waves and bass build-up in specific areas.
Proper room maintenance makes the bass sound louder and clearer. Minimizing background noise in the room enhances the perception of bass clarity. Maintenance involves controlling the reflections by using acoustic panels, rugs, or curtains to absorb sound rather than allowing it to bounce around the room. You should clear unnecessary items and keep the space organized to reduce obstacles that may interfere with the subwoofer’s output.

