So, today, I want to cover a non-trivial question in this article: “How to connect a TV to a receiver without HDMI?” Yes, I am often asked this question, and that’s why I decided to cover it as much as possible.
Of course, this is a non-standard situation because usually, a receiver is hooked up to your TV through HDMI. But what if you have an old receiver without HDMI inputs? And you haven’t collected the necessary amount of money for a new one. Or some other reason why you can not realize this way of connection. In this case, I will tell you about alternative ways to connect the receiver to the TV without HDMI.
Alternative connection methods
RCA Cables
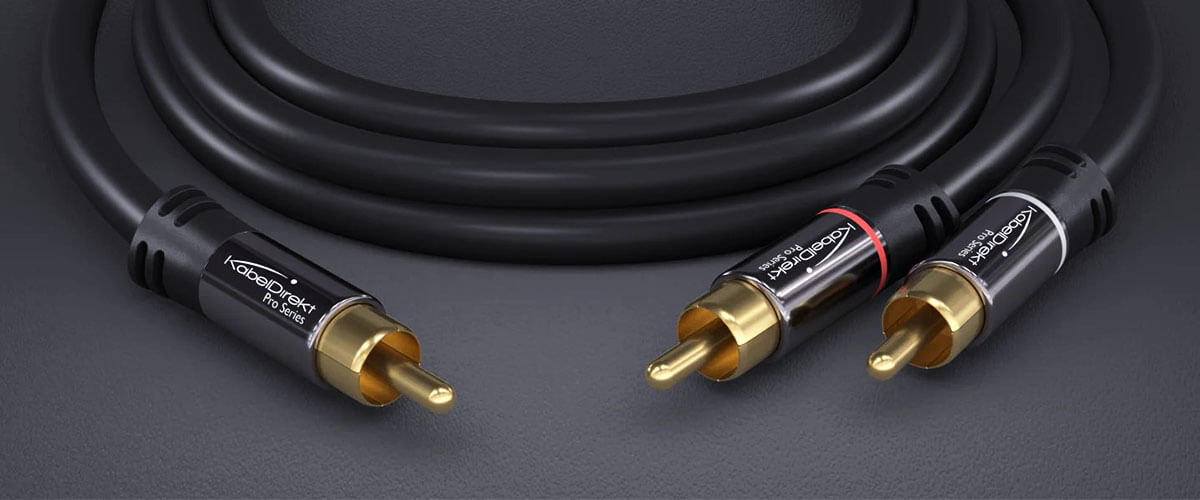
Using RCA cables is probably the easiest and most reliable way to connect TV sound to a home theater without HDMI. Some of you may already know that this type of connection was widely known before HDMI cables became widespread and was actually used for the same purpose. Now, let’s move from theory to practice.
Connecting with Composite Video
Composite cables come in red, yellow, and white colors. The RCA connector is yellow, and the RCA analog audio connectors are white and red. In order to connect your TV to the receiver via the composite video ports, follow these steps:
- identify the composite video ports on your TV and receiver (like the cables, these ports are color-coded yellow);
- connect one end of the yellow RCA cable to the composite video port on the TV and the other end to the corresponding port on the receiver;
- play a test video to check the connection and adjust the settings if necessary.
You can see that everything is as simple as possible. This type of connection is good because it doesn’t require any cables other than a composite RCA cable since the audio signal is transmitted along with the video.
Connecting with Component Video
Look for component video ports on both your TV and AVR. These are usually labeled “Y”, “Pb,” and “Pr”. Now, connect RCA cables to these ports with the appropriate color coding. Yellow is used for composite video (you know this from the previous section), red for the right audio channel, and white or black for the left. By the way, some RCA cables can have 5 connectors, including 2 separate ones for audio with red and white connectors. So, if your cable does not have these, you will have to purchase an audio cable separately, as component video cables only carry video signals.
After connecting the cables, turn on the TV and receiver. In the input/source settings on the TV, select the input corresponding to the component video signal. Ensure that the receiver’s audio input is correctly set to receive audio from the selected source.
As a test, play a video to make sure the component video works properly. If you don’t like something, you can change the TV and receiver settings to improve the sound quality.
Connecting with Analog Audio (RCA)
Well, to finish the topic with RC cables, I’ll talk about a basic method that is especially useful for older equipment or for connecting home theater to TV without HDMI. Find the analog ports to connect your TV to your receiver using this method. They are color-coded: white indicates the left channel (L), and red indicates the right channel (R).
First, connect the cables to the TV and then connect the cable ends to the corresponding ports on the receiver. Then, turn on both devices. You will be prompted to follow the audio setup instructions. Select the “audio out” input on the receiver to complete the setup.
Optical (Toslink) cable
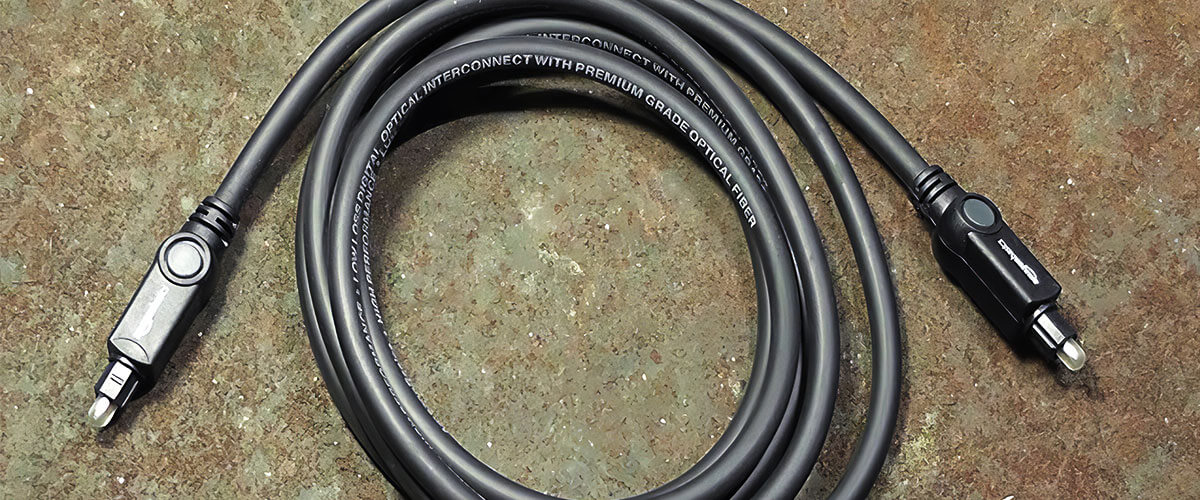
TOSLINK is a digital audio connection that provides high-quality audio transmission, making it a good alternative to HDMI. To set up such a connection, locate the optical audio ports on your devices (TV and receiver). These have a special square-shaped hole with a red light emitted from it. In some cases, these ports may be covered with plastic protective caps. If you find such a cap, simply remove it and put it away for storage. Plug the cables into the ports and turn on both devices to access the input/source settings. That’s it.
3.5mm audio cable
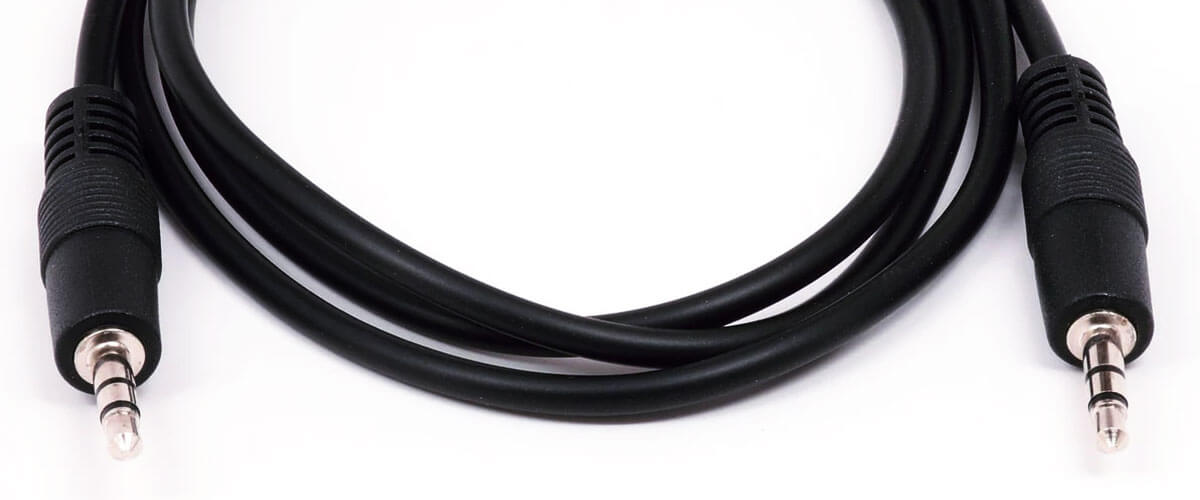
If you haven’t chosen a suitable method, I’m ready to introduce you to another alternative method. 3.5mm cables are widely available and easy to connect. This method is also suitable for most older TVs and receivers. But you should realize that many modern TVs do not have a 3.5mm audio output. Well, the main disadvantage of this approach is that a 3.5mm cable does not transmit high-resolution audio like optical or HDMI cables. In addition, it mainly transmits only stereo sound and does not support multi-channel audio formats like 5.1 or 7.1. Now you know the pros and cons of this method, and it’s time to get into practice:
- Locate the audio input on your TV and receiver. This is usually a 3.5mm jack, like a headphone jack.
- Plug one end of the 3.5mm cable into the TV’s audio output and the other end into the receiver’s audio input.
- Make sure the receiver is set to the correct input source.
- Check the TV settings, as in some cases, you may need to change the audio output settings in the TV menu to route audio through the 3.5mm port.
Adapters and converters
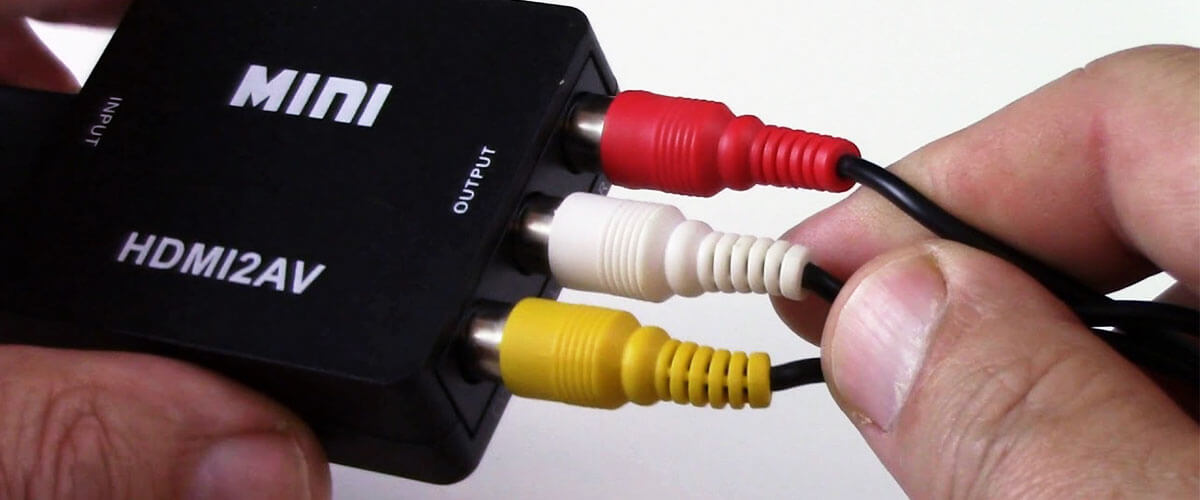
These devices are important safety features for bridging compatibility gaps between different ports and interfaces when connecting a TV to a receiver. They convert one type of signal to another, allowing you to connect devices with different types of ports. There are two main types of such adapters: RCA-HDMI and VGA-HDMI.
RCA-HDMI adapters convert analog video and audio signals (RCA) to digital signals (HDMI). They are usually used if you have an older TV and your receiver only supports HDMI input.
VGA-HDMI adapters convert an analog video signal (VGA) to a digital signal (HDMI). If you need to connect your computer to a TV or receiver with only HDMI inputs, you can use this type of adapter.

