So, you have actively started studying audio equipment, or you are planning to create a cool, unusual audio system set-up and have decided to increase your knowledge in this field a little bit. First, that’s commendable, and second, you’ve come to the right place!
Have you already purchased the basic devices, or are you just planning to, and you are worried about the question “How to connect an equalizer to a receiver”? Don’t worry. It’s not as scary as it may seem at first sight, and I will tell you in detail and even show you how to hook up an equalizer to a receiver. But first, a little bit of theory.
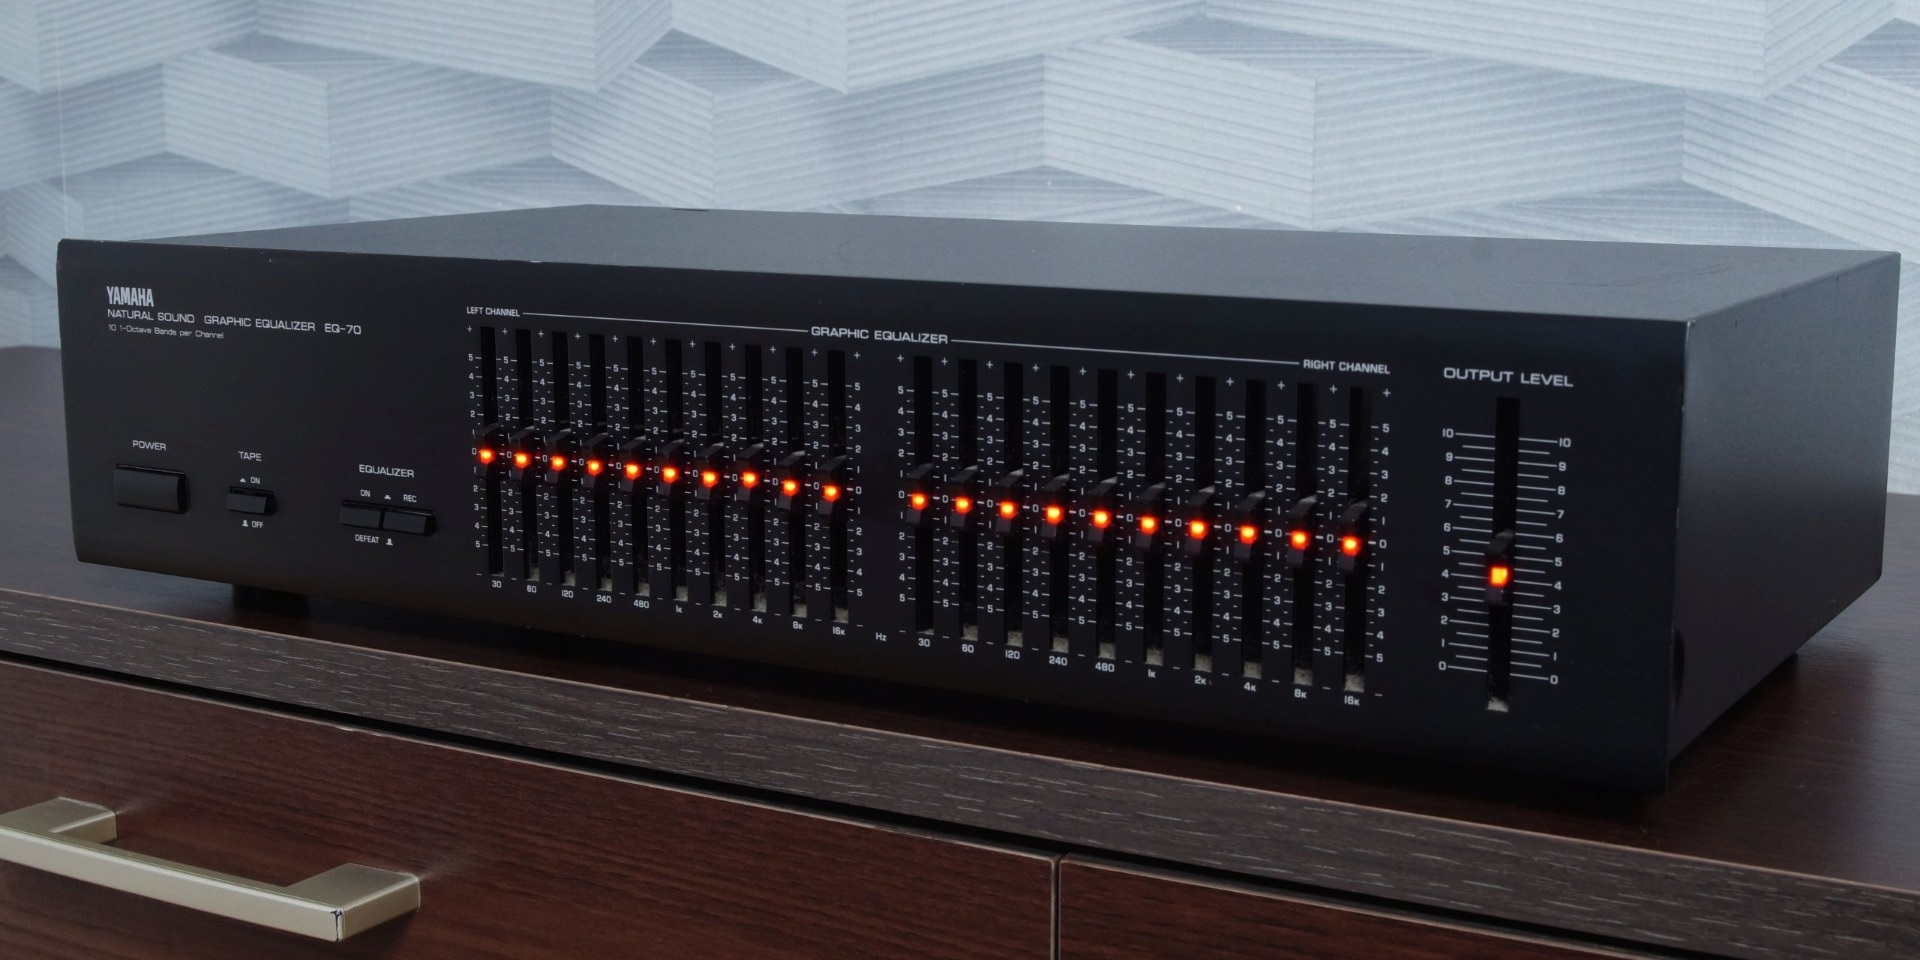
An equalizer is a really useful piece of audio equipment that allows the music lover to adjust the frequency characteristics of the audio signal. These devices have different prices and characteristics, but all perform the main function – adjusting the sound level at different frequencies.
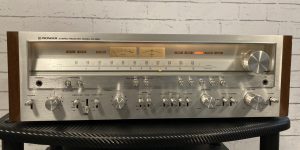
A stereo receiver is usually a 2-channel device with a sound amplifier and a switchboard for the stereo system. Most stereo receivers have built-in phono-correctors, making connecting a vinyl player possible. Well, unlike AV receivers, these models are primarily focused on sound.
Well, AV receivers are multi-channel (more than 5) and multifunctional (sound, video, networking capabilities, etc.) devices that are usually the core of the entire home multimedia system.
Now that you already understand the purpose of these devices, it’s time to talk about connecting an equalizer to a stereo receiver. But I think it is better to show, so take a close look at the diagram.
Connect a graphic EQ to a stereo receiver, or speakers

As you can see, the process itself consists of several steps:
- Select a sound source with an RCA output (or any other audio-sending output) to send your audio signal.
- To connect the sound source to the graphic equalizer, plug in an RCA cable into both devices’ respective inputs and outputs.
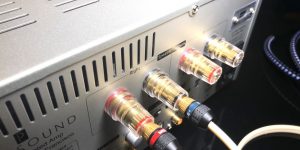
- After plugging in the audio cables, connect your graphic equalizer’s output to your loudspeakers. You can do this by attaching an audio cable from the output of the graphic equalizer to either the input of your amplifier or directly into your speakers – depending on what type of connection is found within said system.
- Once you have connected all the cables, you need to turn on your audio system. This includes the graphic equalizer, amplifier, and speakers. Make sure that you set the volume to a low level before playing any sound.
- Listen to the sound and use the equalizer settings to change it. Each slider adjusts a different frequency range so you can make it sound better. Boost or cut certain frequencies until you like the way it sounds.
Connect a graphic EQ using an AV receiver

The process of connecting a graphic equalizer to an AV receiver is somewhat different from the previous example. By the way, the whole process takes place through the so-called output loop. This is a set of inputs and outputs on the back panel of the AV receiver, which allows you to connect an external audio device, such as a graphic equalizer. And the process itself is not very complicated and consists of 5 steps:
- To connect your AV receiver’s tape monitor loop to a graphic equalizer, begin by attaching an audio cable from the former’s output to the latter’s input. Then, run another audio cable from the output of your equalizer back into your receiver’s tape monitor loop at its input.
- To complete your audio setup, plug in the speakers to the AVR’s output.
- Start up your AV receiver, graphic equalizer, and speakers. Before playing any soundtracks, adjust the volume to a low point.
- To get started, choose the input source on your AV receiver that you’ve connected to your graphic equalizer. Activate the tape monitor loop in order for the audio signal to reach your graphic equalizer.
- Play some audio and customize your graphic equalizer’s settings to suit your taste for a truly tailored auditory experience.
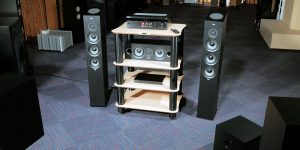
Overall, connecting a graphic equalizer to an AV receiver requires careful attention to detail and the proper use of cables and connections. With the right setup, you can enhance the sound quality of your home theater system and create a more immersive audio experience.
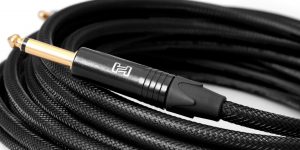
Do I need a special wire to hook up a graphic equalizer to a stereo receiver?

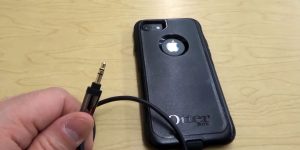
You do not need a special wire to connect a graphic equalizer to your receiver. Any standard speaker wire will do.
By the way, most graphic equalizers come with their own cables or can be purchased separately.
As for the type of wire, ensure it can handle the power and voltage your receiver is putting out. I also recommend checking your receiver’s manual to see if it has any special instructions on how to connect a graphic equalizer.
Can I use any graphic equalizer with my stereo receiver?
Yes, you can use any model of graphic equalizer with your stereo receiver, as long as it has the proper inputs and outputs, for example, preamp output. If your receiver does not have preamp outputs, you will need to connect the graphic equalizer between the source component and the receiver. Besides, some receivers have a built-in graphic equalizer, so there is no need to use any additional equipment.
Is it challenging to use a graphic equalizer?

No, it’s not difficult to use a graphic equalizer. There are a few things to keep in mind when using the device.
- First, you should be aware of the frequencies, which you’re going to adjust.
- Second, make sure that you don’t adjust the levels too much, as this can cause distortion.
- Finally, it’s essential to listen to the track after making your adjustments to make sure that you’re happy with the results.
Practice and testing are very important. So, don’t be afraid to work with your equipment and make various adjustments and optimizations. Believe me, there may be disappointments, but the result will definitely please you.