Your receiver isn’t producing sound in one or more channels? Probably you may need to fix a blown channel on a receiver. But don’t worry! It’s a common problem and can be repaired relatively easily. This guide will show you how to troubleshoot and fix the issue. I’ll also give you some tips on how to prevent this from happening in the future.
How do I know if my receiver’s channel is blown?

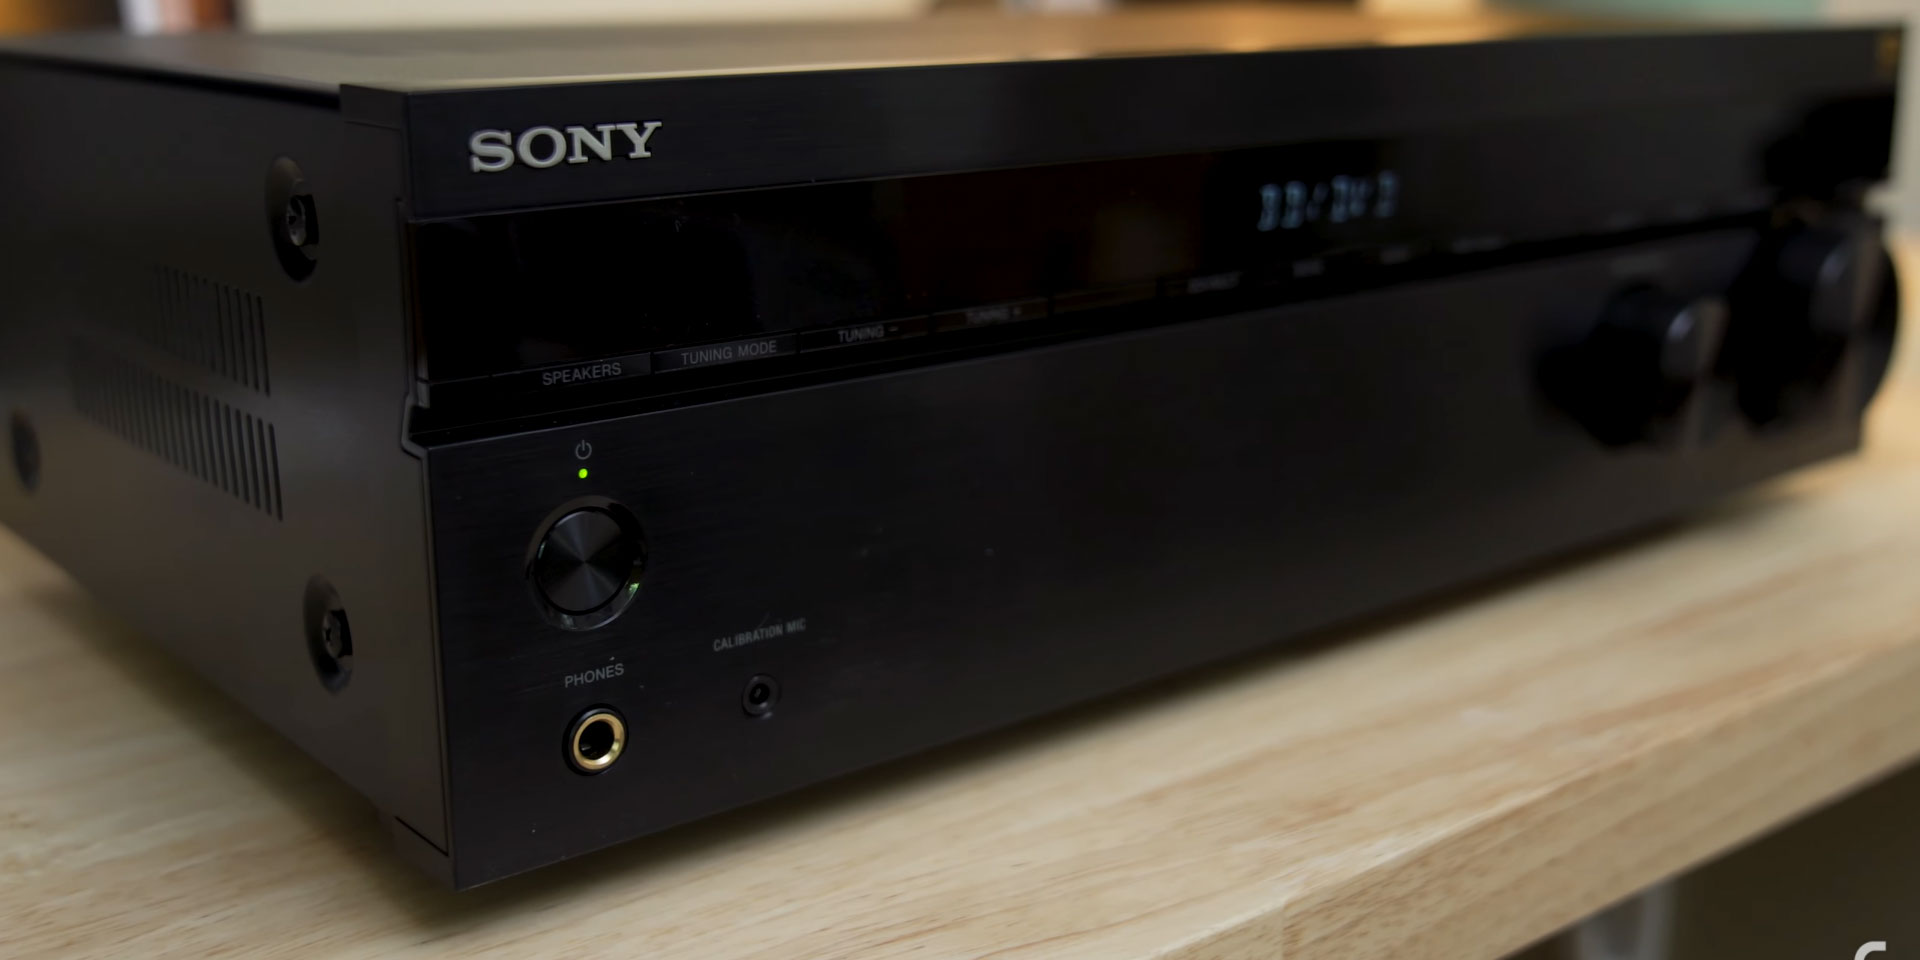
There are a few ways to tell if your amp channel is blown. One way is to check the sound output from the speaker. If you can’t hear any sound at all, or if the sound is distorted, then it’s likely that the channel is blown. Another way to tell is to check the light indicator on the receiver. If the light is not lit up, or if it’s flickering, then that channel may be damaged. Uneven volume, unbalanced sound, or loss of certain frequencies can also be symptoms of a blown channel.
When you have detected the problem, it remains to determine the cause of the problem. This will then help you determine what to repair.
The causes of a blown channel can be:
- Power surges and voltage fluctuations.
- Faulty connections.
- Overheating.
- Component failure.
- Physical damage.
- Aging and wear and tear.
Blown channel on a receiver – troubleshooting tips
If the above symptoms are present, the amplifier channel can be repaired even by yourself. However, trying to fix the problem yourself, especially if you are not sure of the cause, may result in more damage.
Therefore, it’s best to take it to a professional. You should contact the manufacturer for assistance if your receiver is still under warranty. But be prepared that the repair may be expensive depending on the extent of the damage.
DIY steps
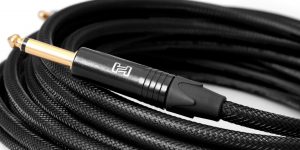
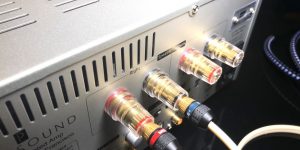
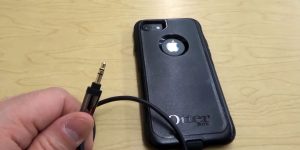
Check cables and connections
Once you’ve identified the blown channel, it’s time to take a look inside the receiver. Before you start the repair, double-check that all the connections are correct. Try unplugging the receiver and plugging it back in. This is a frequent problem that can be resolved in a few minutes. Positive and negative wires should be connected correctly to the corresponding speakers.
Try the following steps:
- Disconnect and reconnect the connections.
- Check for damage.
- Change cables.
If the amplifier channel is still not working, then you may need to replace the blown component. This could be a speaker, amplifier, or resistor.
Check speakers’ position
Make sure that the speakers are placed in the correct position. If they’re too close to each other, or if they’re too far from the receiver, then it could cause sound distortion. Try moving the speakers to a different location and see whether that fixes the issue.
Test different sources
To determine if the problem is related to a specific audio source, connect different devices (e.g., CD player, smartphone) to the affected channel and see if the problem persists. If the problem is the same for multiple sources, it is most likely related to the receiver.
Balance and settings
Check the balance control. Ensure that the control (if present) is centered between the left and right channels.
Also, check the audio settings. Review the settings on both the receiver and the connected audio source. Make sure there are no unusual settings or configurations that could cause a problem.
Cooling and ventilation
As mentioned above, overheating can damage electronic components over time. The following may help to correct this type of problem:
Make sure your receiver has adequate ventilation. Store it in an open area with adequate airflow, and do not place it in closed cabinets.
Check the ambient temperature of the room. If it is too hot, consider using additional fans or cooling aids to control the receiver’s temperature.
Advanced troubleshooting

If the previous actions did not help, you will have to open the receiver, as you are facing a more serious problem.
We remind you that the best solution is to seek professional help. So please do not take any action if you are not confident in your abilities. This may lead to more serious consequences: equipment damage or personal injury.
Internal inspection
Needless to say, safety is paramount, so make sure the receiver is unplugged before proceeding, and only then begin to inspect:
- Visual Inspection. Carefully open the receiver case and visually inspect it for visible damage, burned components, loose connections, or blown fuses.
- Solder connections. Check for cracks or looseness in the solder connections. Resoldering may be necessary.
- Check for loose connections. Gently jiggle and push on connectors and components to check for loose connections. Reinstall any components that appear to be improperly installed.
Component testing and replacement
You may have access to test equipment and a basic understanding of electronics. If so, you can perform component-level tests:
- Multimeter. Use a multimeter to measure various components’ resistance, capacitance, and voltage. Compare the readings to the specifications in the receiver’s manual.
- Signal tracing. Using an oscilloscope or signal tracing tool, follow the path of the audio signal in the circuit to determine where it is distorted or lost.
- Identify the component. It could be a capacitor, transistor, or other semiconductor.
- Unsoldering and soldering. Carefully unsolder the faulty component and solder a new one in its place. This requires precision and experience to avoid damaging the circuit board.
Professional repair
If the problem persists even after following the above steps, it is wise to seek professional help. As stated earlier, contacting customer service or a professional technician can help you.
How to prevent a blown channel on a receiver?
To prevent your receiver’s channel from failing, you only need to treat it carefully: timely maintenance, protective measures, and sensible use. These may include:
Overload protection
Do not overload the receiver by connecting too many speakers, and do not play audio at high levels for extended periods; it may also be the reason for the overwork of the amplifier.
Investing in a quality surge protector is another wise decision to protect your audio equipment from sudden power surges.
Proper ventilation
Keep the receiver away from heat and moisture. Keep the receiver away from heat and moisture. Ensure there’s plenty of air circulation around the receiver, and avoid placing it near any heat sources.
Easy care
Wipe off dust and dirt regularly, use high-quality speaker wires (shear wires can overheat and cause the channel to blow), and clean the ventilation.
Adequate use
Turn on the receiver last after all other components (such as speakers and source devices) and turn it off first when turning off the audio system.