How great it is that modern technology makes it possible for large families to organize separate multimedia zones within one system in their apartments or houses. It is possible to connect multiple speakers to a stereo, but it’s essential to do so within the specified impedance and power handling capabilities of both devices. To avoid overloading the amplifier and damaging the equipment, I will tell you how to safely hook up multiple speakers to a receiver.
Why would someone want to connect multiple speakers to a home stereo?
The only reason why many people want to connect extra speakers to stereo is to get an analog of multi-room audio. However, you should realize that, in this case, you cannot control what to play in different zones. This method is often used for commercial purposes, for example, in cafes, where the same music needs to be played in different rooms. Also, note that you will not get surround sound since it will still be divided into two channels; the content will just be played in all of the connected speakers. It doesn’t provide any additional power, as you might think unless you are using a powerful amplifier or stereo receiver with small, weak speakers.
Determining your home stereo system’s compatibility
Check the amplifier’s specifications
I always say that by thoroughly understanding the specifications of your amplifier, you can ensure compatibility and optimize the overall audio quality of your system. Key specifications include output power, impedance, and speaker connections.
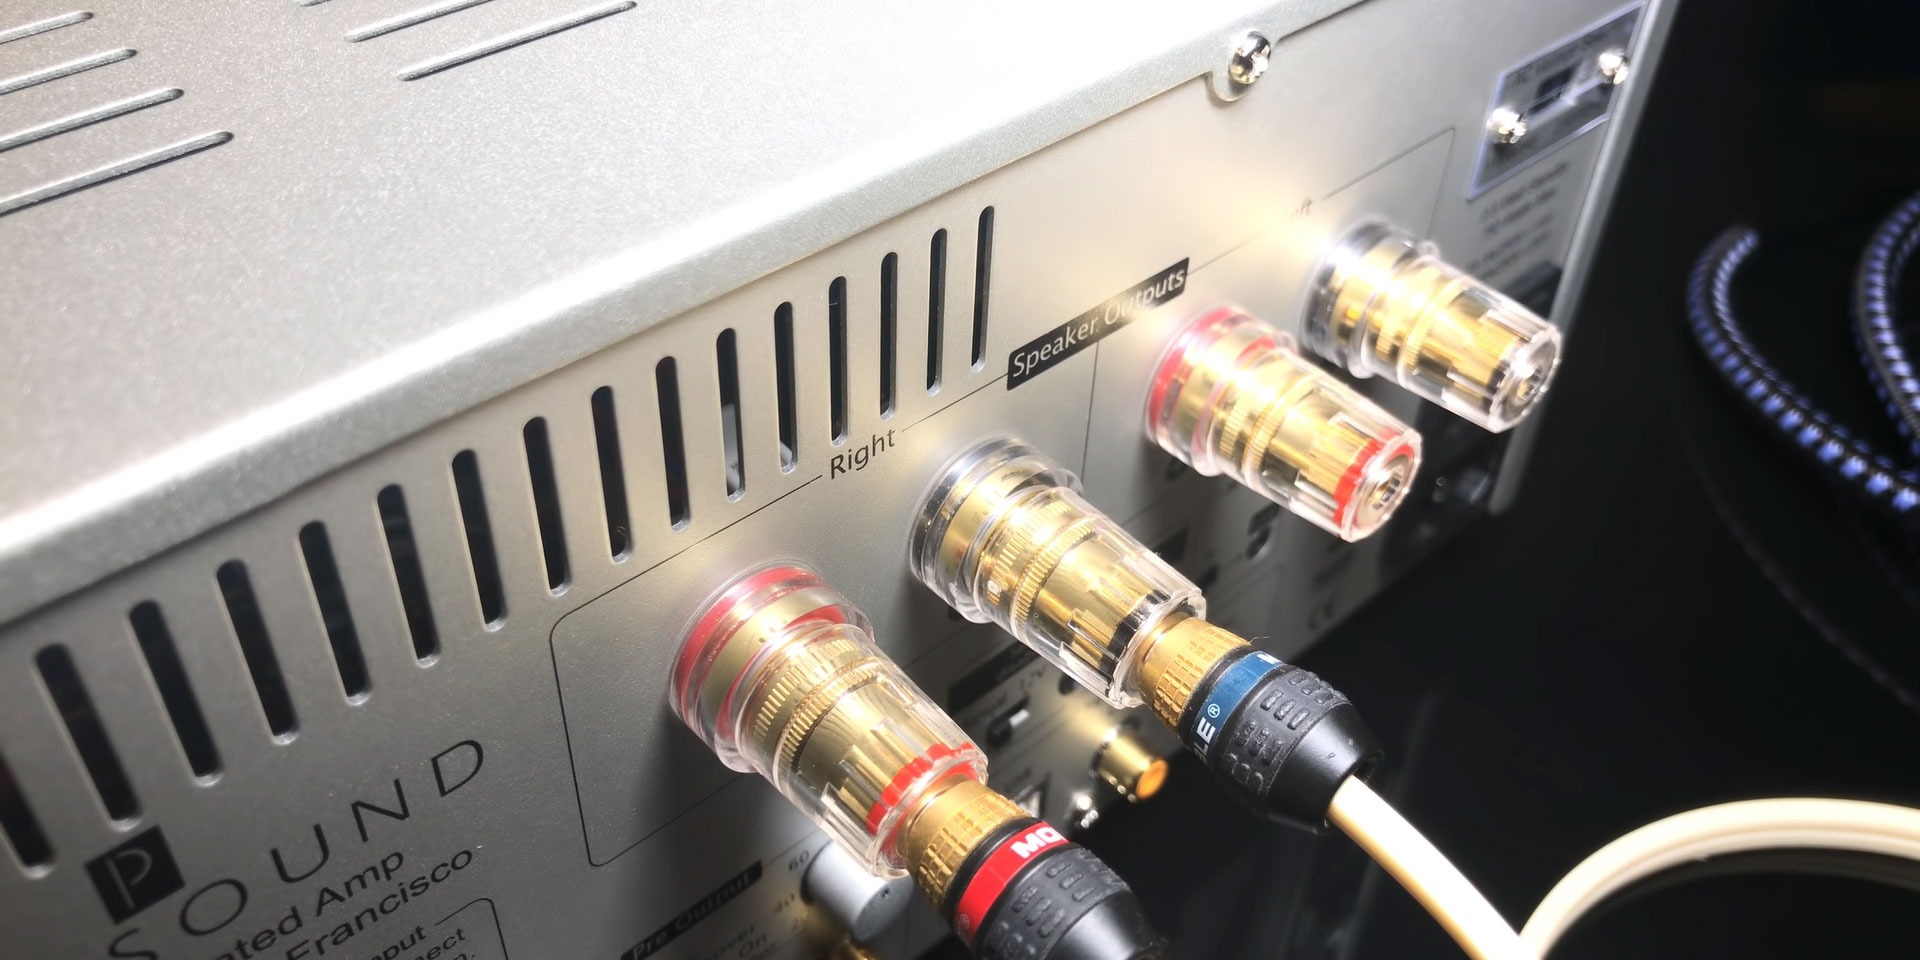
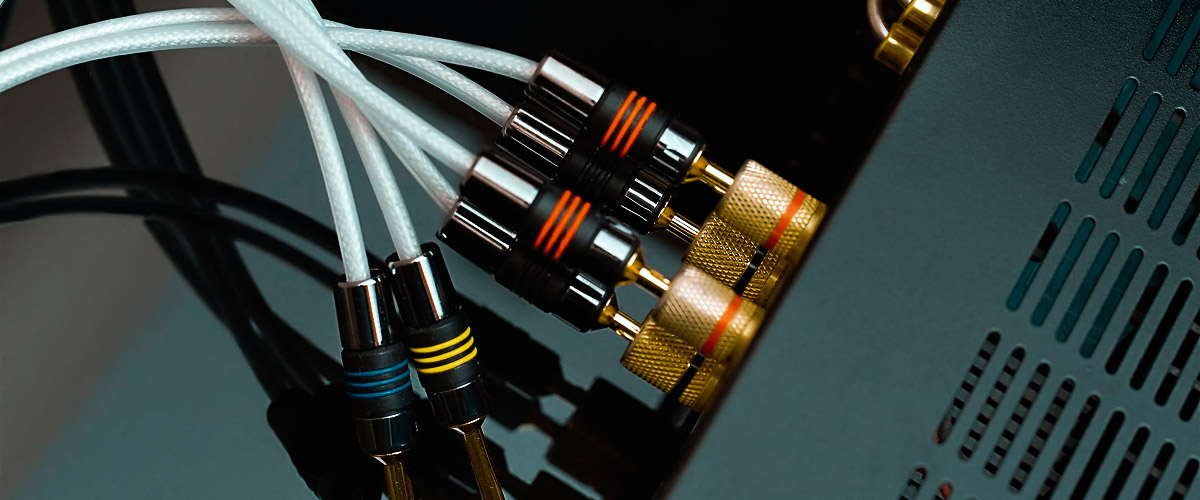
Insufficient power may result in distortion at higher volumes, while excessive power can damage speakers. That is why matching the amplifier’s power with the speakers’ handling capabilities is important. If you use speakers with a lower impedance, the amplifier can be overloaded and potentially damaged. Higher impedance speakers may not receive enough power, leading to suboptimal performance. Understanding the types of speaker connections the receiver supports ensures their compatibility. Common connection types include binding posts, banana plugs, spade connectors, and spring clips. The wrong type may result in a poor or unstable connection, affecting audio quality.
In order to check these specs you should refer to the user manual that comes with the amplifier. Look for sections that detail output power, impedance requirements, and recommended speaker connections. The next that can help you with this is the rear or bottom panel of the device, which often includes a label with important specifications. Another option is to visit the manufacturer’s website. Most manufacturers provide downloadable manuals and technical specifications for their products. Some equipment has a built-in display that shows key information, including output power, impedance, and speaker connections.
Identifying speaker compatibility
Matching the speaker’s impedance with the amplifier’s output impedance ensures efficient power transfer and prevents the risk of damaging both units. Using speakers with a power handling capacity below the amplifier’s output can result in distortion and may lead to overheating and damage. Common speaker impedance values include 4, 6, 8, and 16 ohms. Most amplifiers are designed to work with specific impedance ranges and your task is to match them accordingly. Choosing speakers with a higher power handling capacity than the amplifier’s output is generally safer than the opposite scenario.
I’d recommend testing the impedance before you add more speakers to a receiver. Refer to the documentation that came with your speakers for information on impedance. This may include the user manual, product specifications, or labels on the speakers themselves. A multimeter with impedance measurement capabilities can be used for testing. Connect it to the speaker terminals and select the appropriate impedance range. Some speakers have impedance switches that allow you to select between different impedance settings. The switch has to be set to the correct impedance level as recommended by the amplifier.
Connecting multiple speakers in parallel
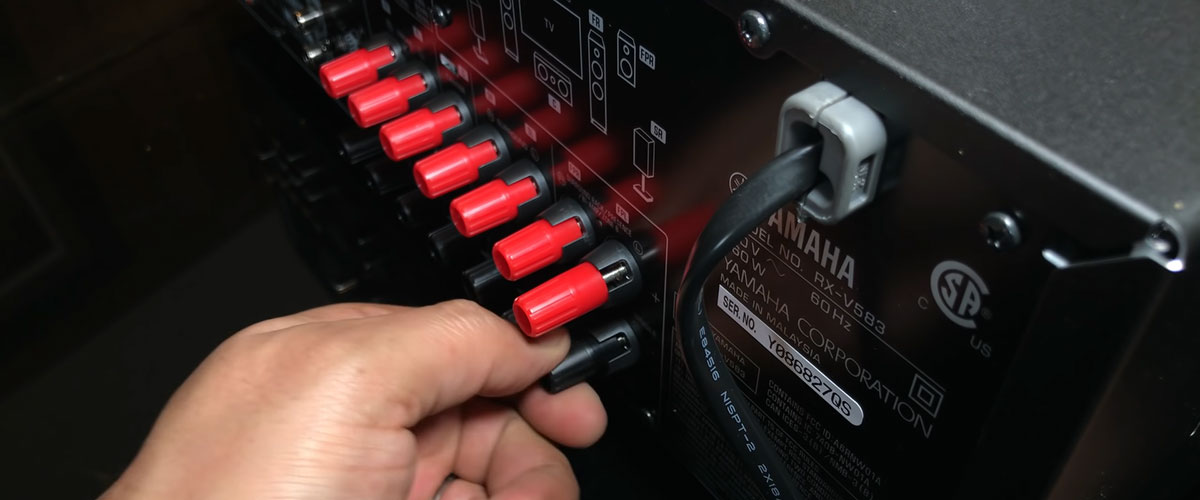
The parallel connection method involves wiring multiple speakers together in a circuit so that the total impedance of the system decreases. This configuration is commonly used to increase the overall volume of the sound system and where multiple speakers are placed. I’m sure you can easily handle connecting multiple speakers in parallel, for which you will need the following:
- Speaker wires (ensure they are of sufficient gauge).
- Wire strippers or scissors.
- Banana plugs, spade connectors, or bare wire ends (depending on your speaker terminals).
When there’s everything you need, check the impedance rating of each speaker. Connecting speakers in parallel, the total impedance (Zt) is calculated using the formula:

For two speakers of the same impedance, the formula is:

After you’re done with the calculation, connect the positive terminal of the device to the positive terminal of the first speaker. The same goes with the negative terminals. Then you have to connect the positive and negative terminals of the first speaker to the corresponding terminals of the second speaker. Repeat this process for each additional speaker. The last speaker in the chain should be connected back to the receiver.
Connecting multiple speakers in series
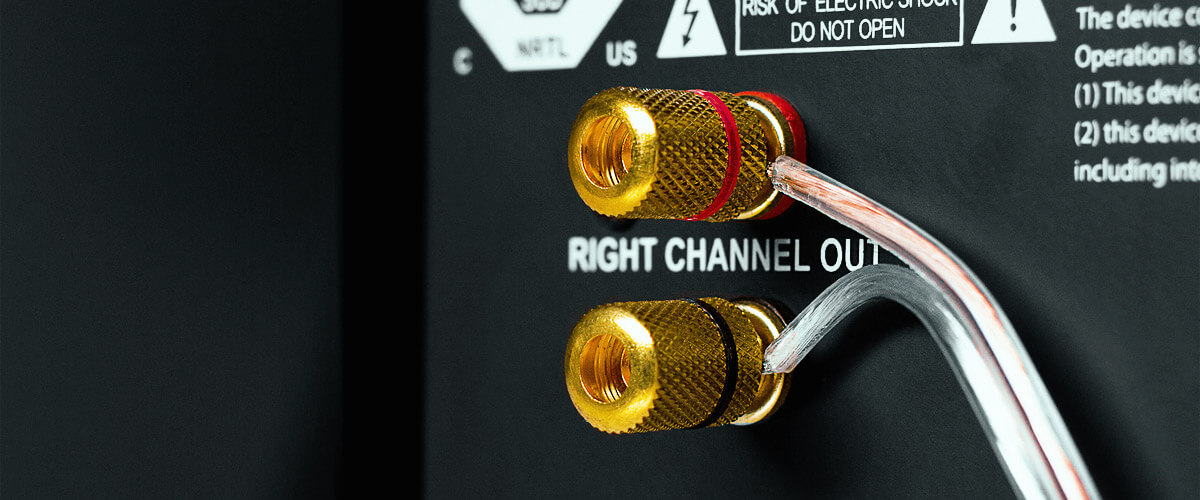
This method involves wiring them together sequentially, end to end, forming a single continuous circuit. I use this configuration when connecting speakers with different impedance ratings. You will require the same tools that I described for the parallel method.
When connecting speakers in series, the total impedance (Zt) is the sum of the individual impedances:

The connection process is also simple. At first, you connect the positive terminal of the receiver to the positive of the first speaker. Then you connect the negative of the first speaker to the positive of the second speaker. Continue connecting the negative terminal of each speaker to the positive of the next speaker until all of them are connected in series.
The negative terminal of the last speaker in the series goes back to the negative terminal of the receiver. Check if the circuit forms a continuous loop.
Using speaker switches and distribution hubs
The following devices I’ll talk about allow you to control and distribute audio signals to multiple speakers from a single amplifier. These tools provide flexibility and convenience, enabling you to route audio to different rooms, zones, or sets of speakers.
Speaker switches allow you to connect multiple sets of speakers to a single unit and selectively choose which speakers are active. They typically come in two types: manual and automatic. For manual switches, use speaker wires to connect the amplifier’s output terminals to the input terminals. You need to connect the individual sets of speakers to the output terminals on the speaker switch. Ensure that you observe proper polarity.
Automatic speaker switches are similar to manual but include automatic sensing or remote control features. Some switches can detect when audio is playing and activate the corresponding set of speakers.
The second useful tool is distribution hubs, allowing you to distribute audio to multiple zones. It serves as a central point for connecting speakers in different areas. The distribution hub has input terminals where you connect the output of your receiver. There are also multiple output terminals where you connect the speakers in each zone. It often includes individual controls for each zone. These controls give you the opportunity to adjust the volume, turn speakers on/off, and manage other audio settings independently for each zone.

