
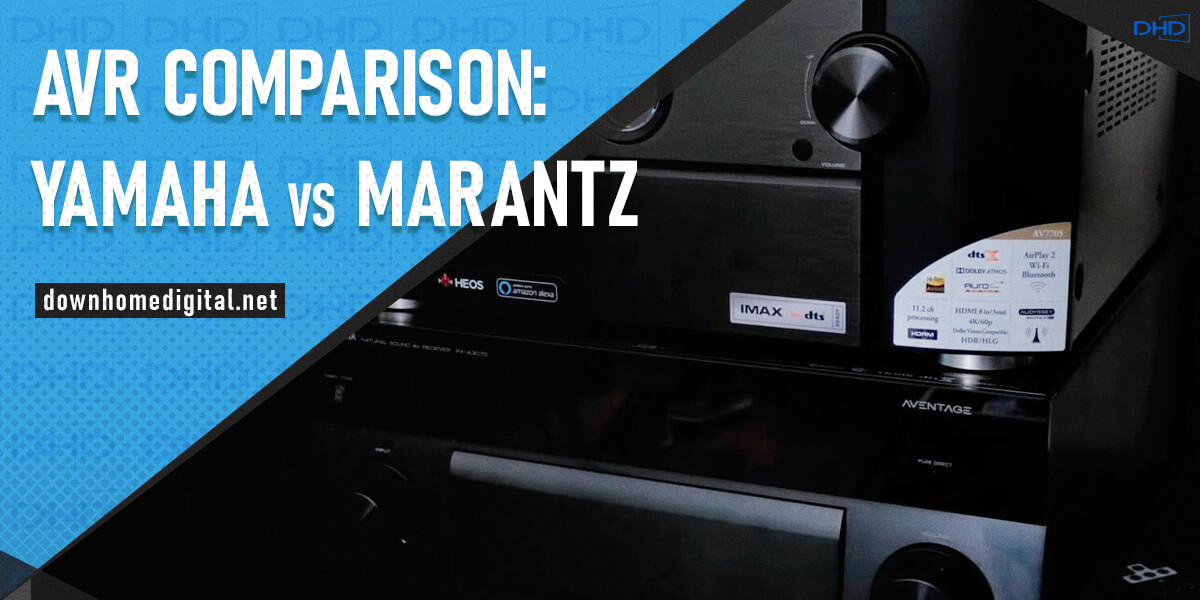
Today’s audio world is a symbiosis of different models, technologies, innovations, and of course, competition. Naturally, brands are trying to win as many fans as possible. Such a picture can also be observed in the AV receivers’ niche. And today, I suggest you consider comparing two rather popular brands – Marantz vs. Yamaha.
AV receivers
When it comes to improving the quality of your home cinema, there is no greater single upgrade than adding a set of surround sound speakers driven by a high-performance, well-matched AV receiver.
Comparison Denon vs Yamaha Receivers
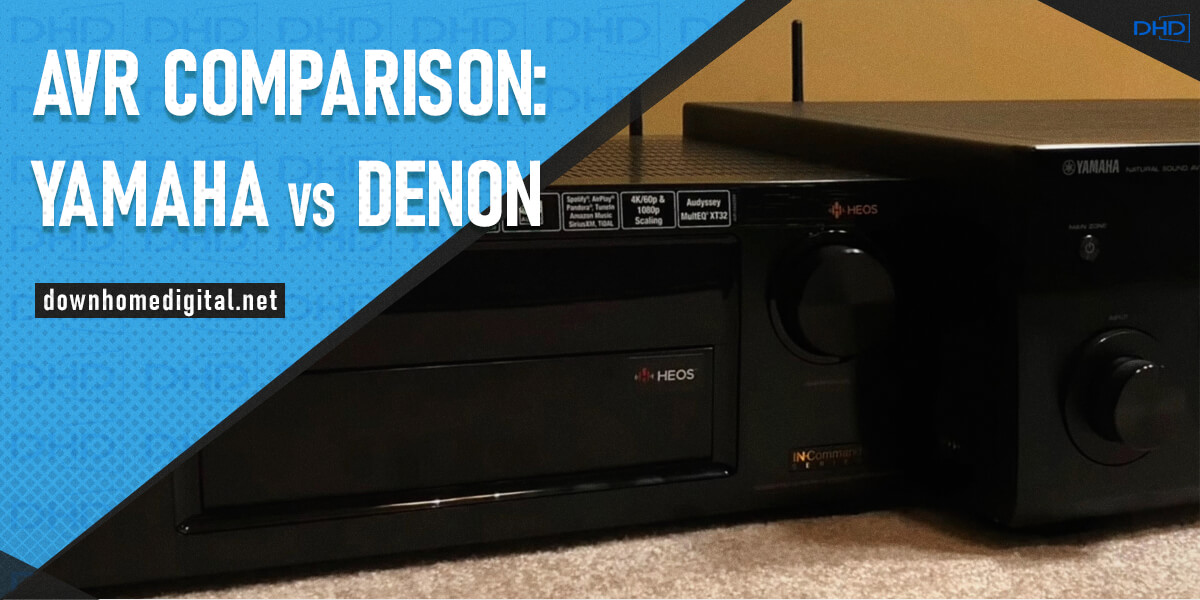
The question of choosing the most suitable receiver arises for everyone who already has or wants to create a home theater. Therefore, I made a Denon vs Yamaha comparison by selecting the most interesting models from each manufacturer. Why these particular brands? Because they are recognized market leaders that please thousands of customers worldwide every year with their innovations in the world of advanced sound quality.
Marantz vs Denon Receivers Comparison
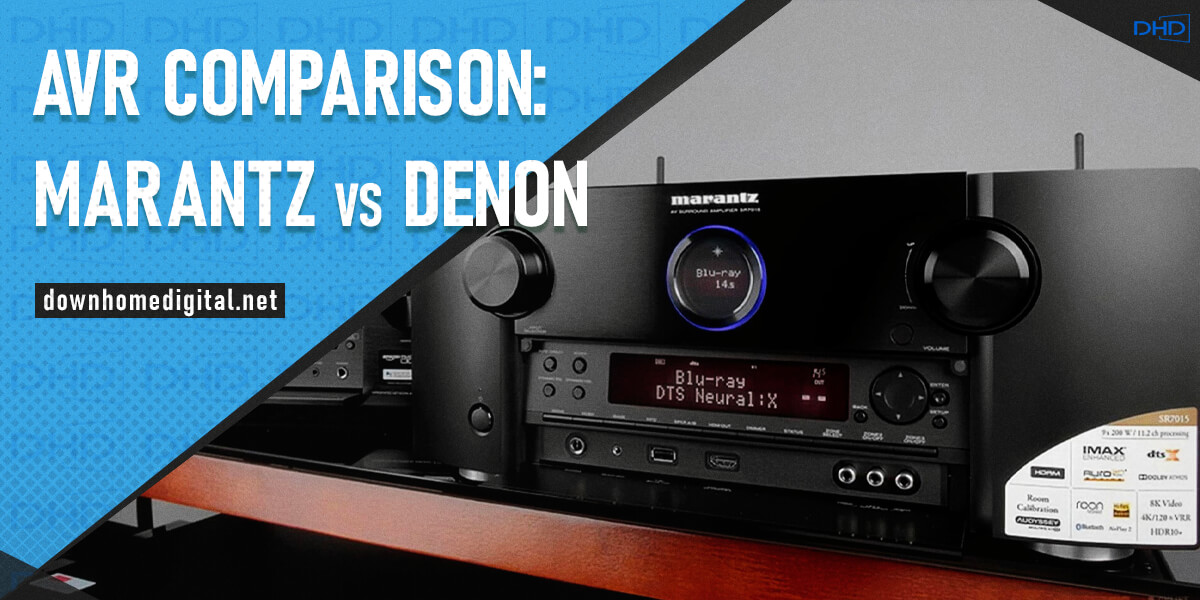
Every music fan has come across a Denon and Marantz receiver at least once. These are two popular brands that are known not only to a narrow circle of professionals but also to many people who at least once thought about upgrading their home theater. And I can point out that there are some similarities and, of course, differences between them. I’ll help you understand the intricacies of Marantz vs Denon.
Denon vs Onkyo Receivers Comparison
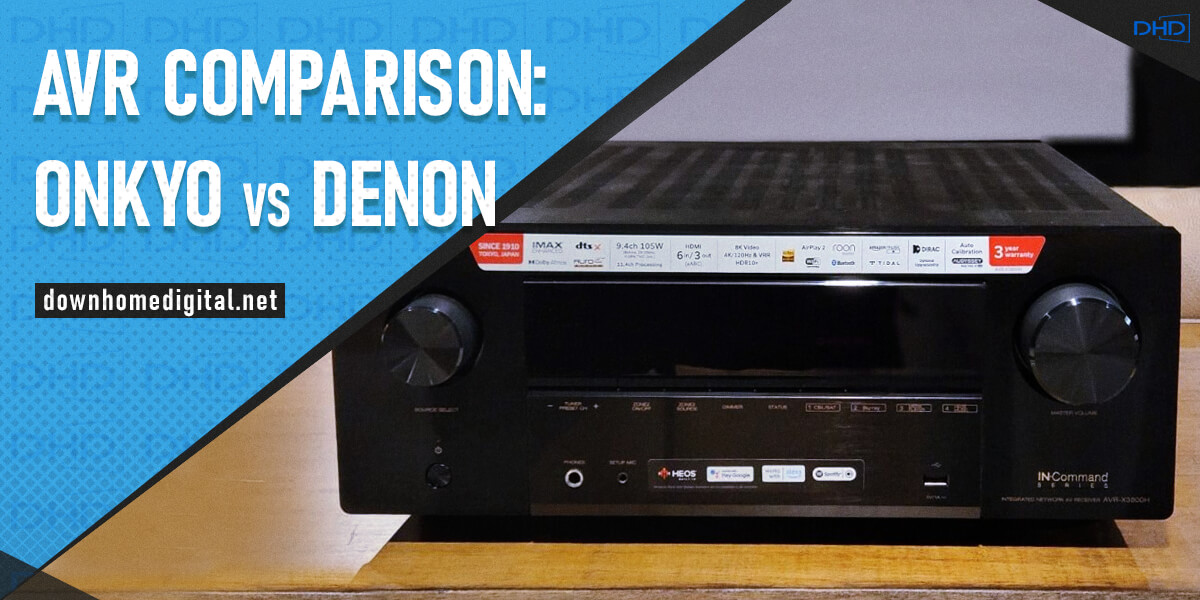
In this article, I want to bring you another “battle of the brands.” This time, it is Denon vs. Onkyo. I will compare the most interesting receivers of these two brands. As usual, I have chosen models from different price segments in order to cover the possible range. This comparison aims to find out which model is better in its category and to make it easier for you to choose between Denon and Onkyo.
Best Home Theater Receiver Reviews

The receiver is not the only home theater component gaining popularity today but is undoubtedly its main device because it unites all the others. It connects all the other components, and the quality of signal transmission and the final result depends on it to a large extent.
Best High-End AV receiver
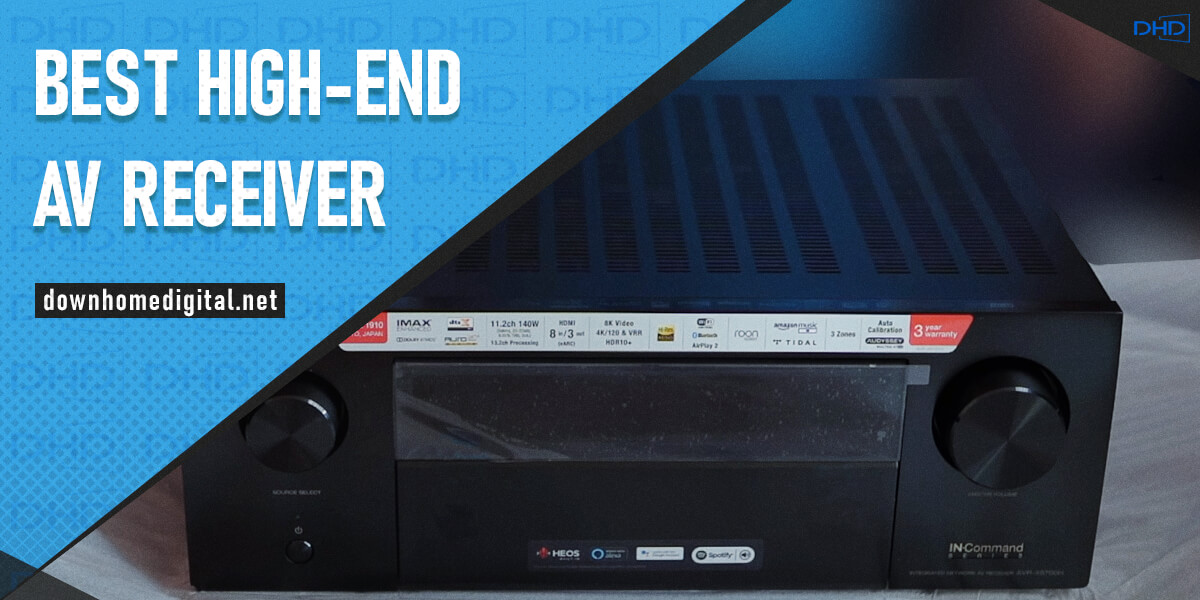
Top-class receivers are the pinnacle of video and audio technology. Yes, Denon and Marantz can be considered brands engaged in a serious struggle for leadership in this price segment of AV receivers.
Best 8K Receiver Reviews
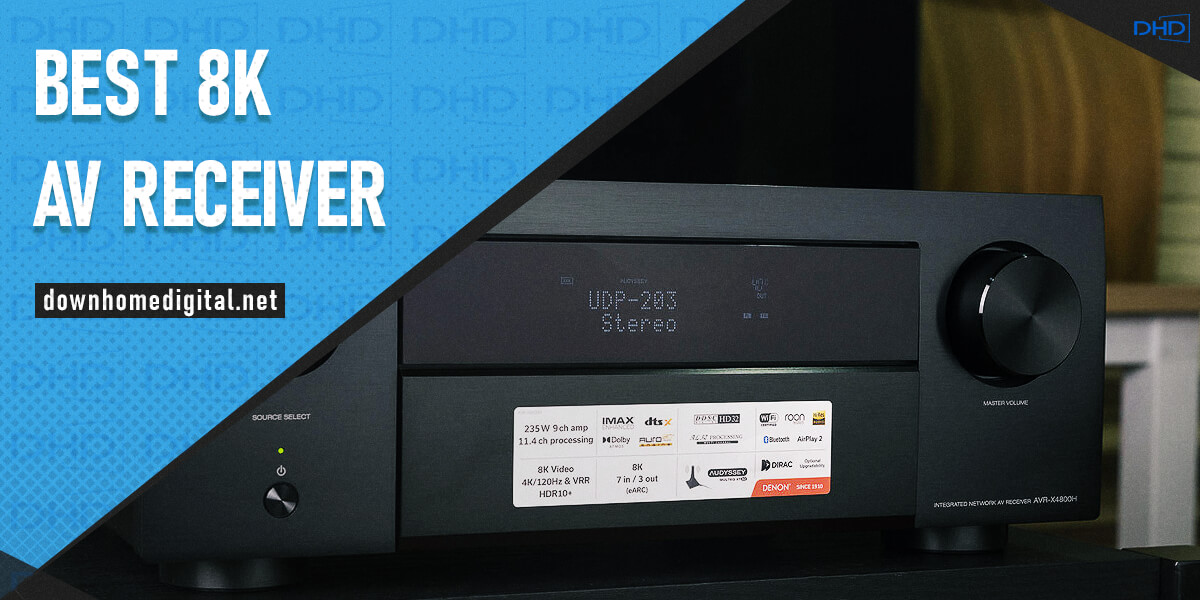
8K technology is rapidly gaining popularity in the market, and the demand for receivers that support it is increasing. This innovation offers a more vivid and life-like viewing experience with a resolution four times greater than 4K and sixteen times greater than Full HD.
Best Slim AV Receiver
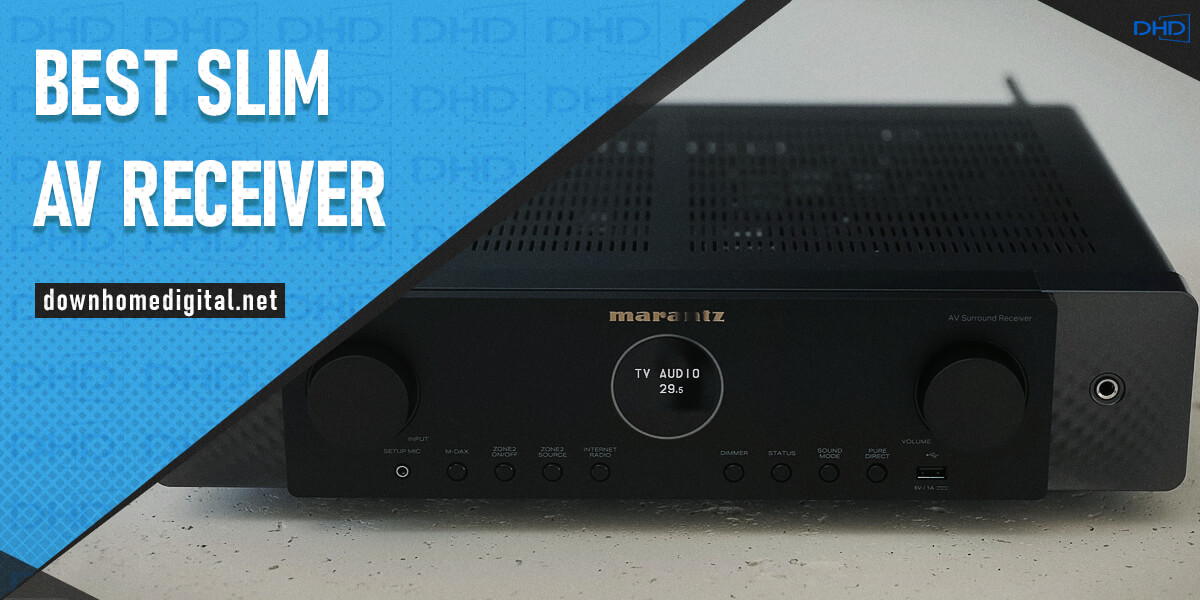
Choosing the best slim AV receiver is no easy task, especially if you barely understand what all those ports, features, and buttons are needed for. Since slim AVRs differ from larger counterparts, you may feel even more confused when picking the most suitable option.
Best Marantz Receivers Review
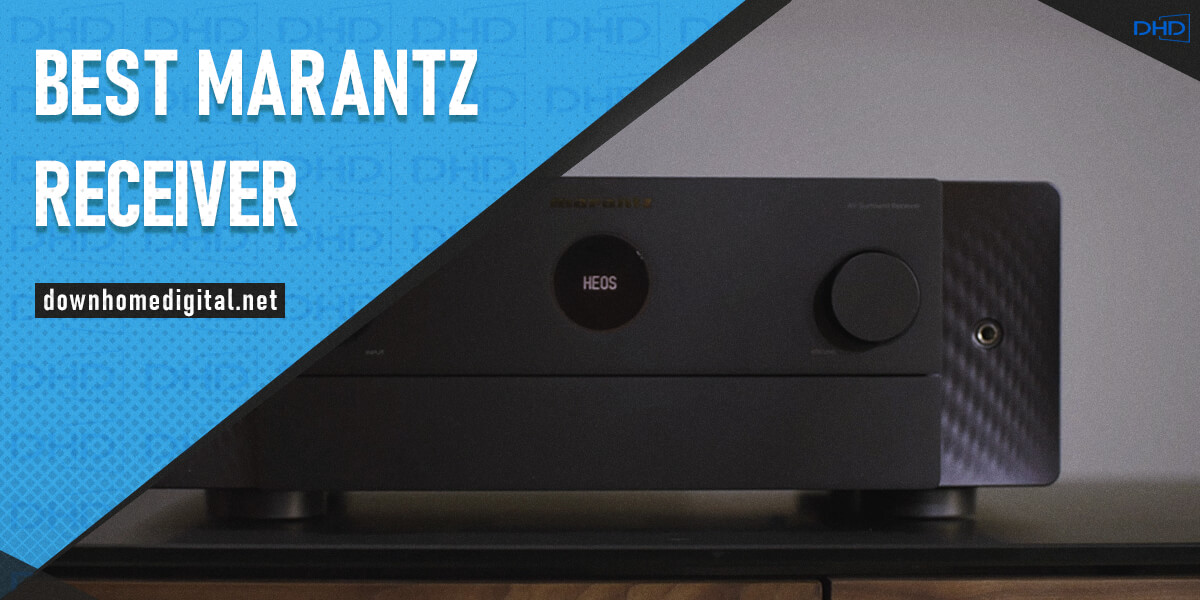
The history of the Marantz brand began in 1953 when Saul Marantz decided to create equipment that could please audiophiles from all over the world with detailed and clear sound. The company’s first office was arranged in his basement, which is rather symbolic considering how popular this brand is nowadays.
Best Dolby Atmos Enabled Receivers
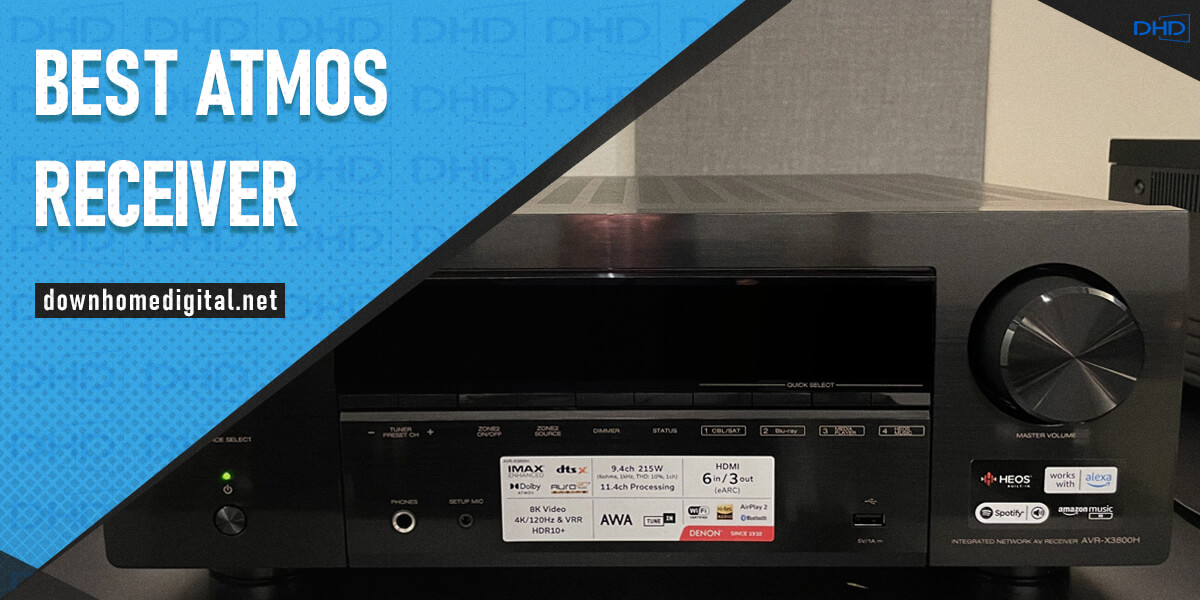
Dolby Atmos is a popular surround sound format. This technology has rapidly burst onto the home theater market. Now almost all mid-range and top models of AV receivers support it, and soon it should become a mandatory option in budget models as well.
Best Yamaha Receiver
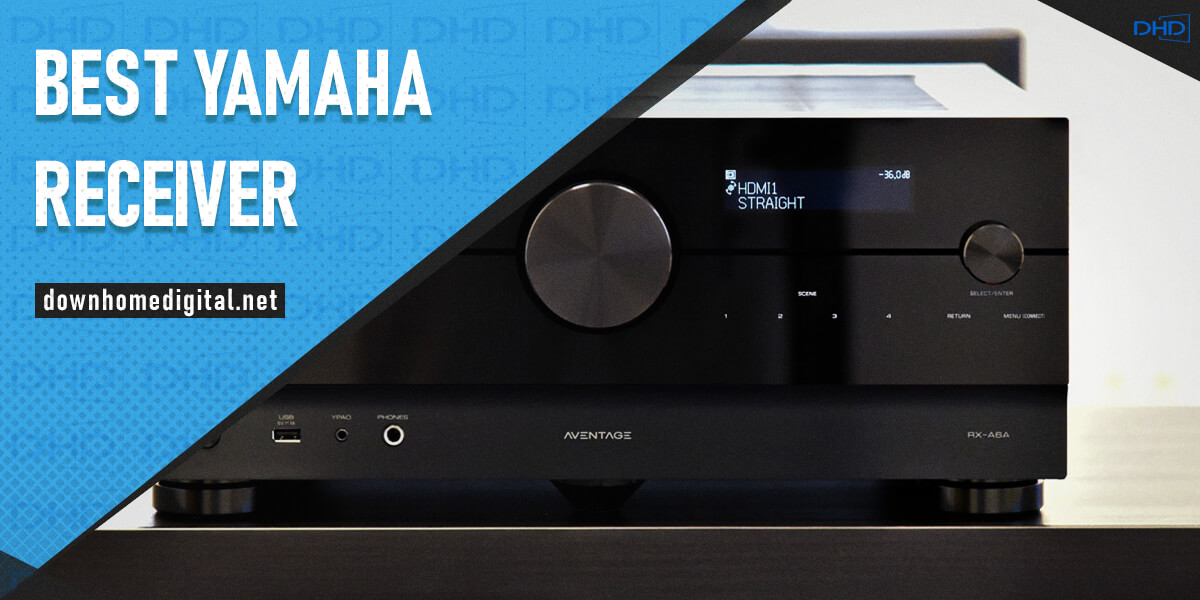
The history of the Yamaha company started in 1887 when a talented Japanese designer Torakusu Yamaha created his first reed organ. At that period, the sphere of musical instruments was poorly developed, so Thorakusu worked hard to offer something interesting and innovative.
Best Sony Home Theater System
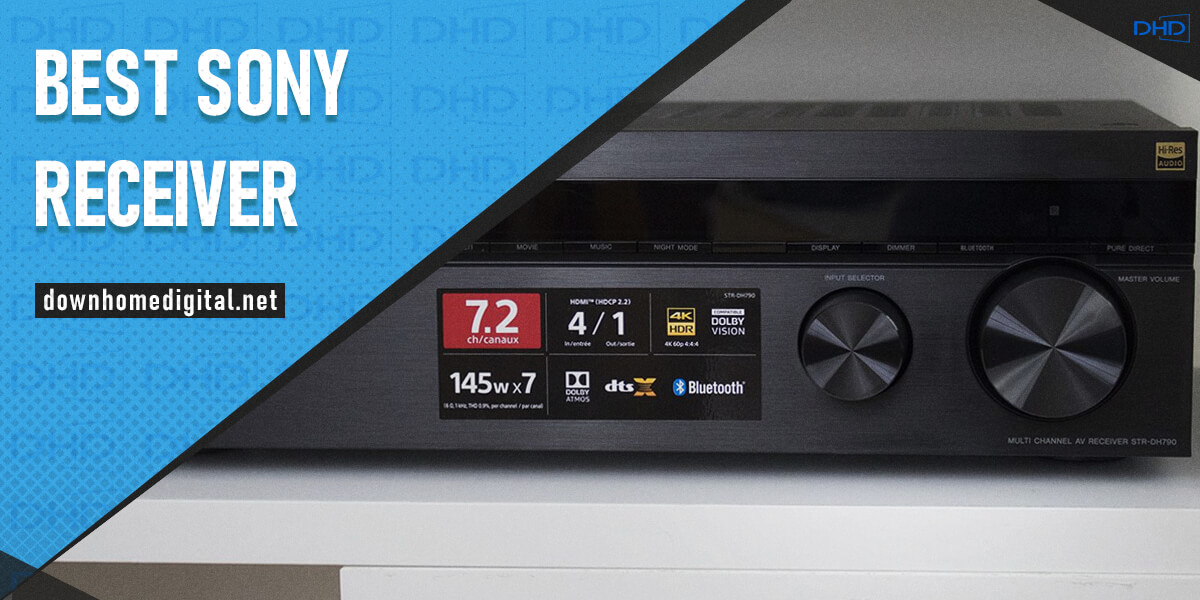
AV receiver is a multi-channel device with digital audio stream decoders, tuner, and switcher for audio and video signals for use in home theater systems. These devices allow you to take sound to a whole new level and consequently get the most possible emotions from movies, music, or games. One of the old-timers and leaders in this market is Sony. Many people want to choose the best Sony receiver but get lost among the many series and models.
Best Denon Receiver
For quite a long time, AV receivers have occupied the position of the leading home media center. They allow you to combine all your equipment into a single multimedia system and get the most out of sound and video.
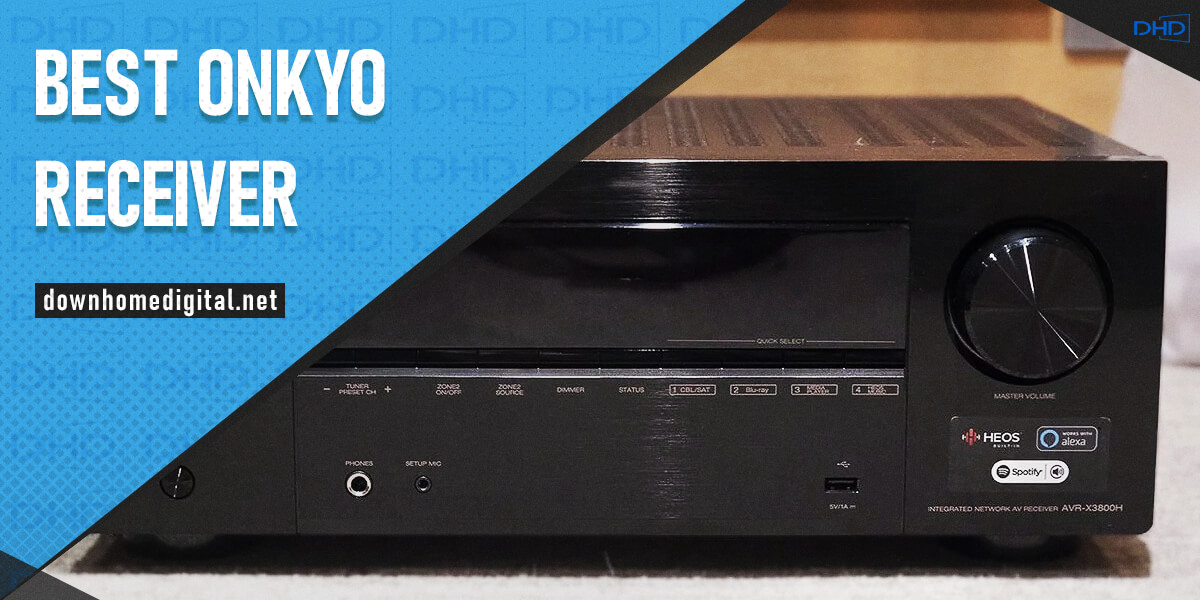
Best Onkyo Receivers
Many audiophiles go crazy for the models created by this brand, as all of them are awesome. No wonder the Onkyo receivers have incredibly high quality and can provide a mind-blowing sound. I analyzed a lot of different devices to find the best Onkyo receiver.
Best Pioneer Receiver
The Japanese company Pioneer has been creating media equipment since 1938. Since that time, they have been able to gain many fans thanks to the exceptional quality of products and adherence to traditions that have helped to maintain this quality to the present day.
Best 4K Compatible Receivers
Looking for the best 4K receiver? Or maybe you’re new to the topic and want to know why you need a receiver. If you are interested in these questions, you have come to the right place. First, let’s talk about the functionality of such a device. The AV receiver is designed to control your home theater system.
Best 5 Channel AV Receiver
At some point, the day comes for every owner of a modern TV when there is a desire to improve the image quality and sound or add surround effects. And most often, the easiest and relatively inexpensive solution is to buy an AV receiver. But how to choose the best 5.1 receiver out of plenty of offers? I will tell you about it in my review and help you choose the most optimal device.
Best Budget Home Theater Receivers
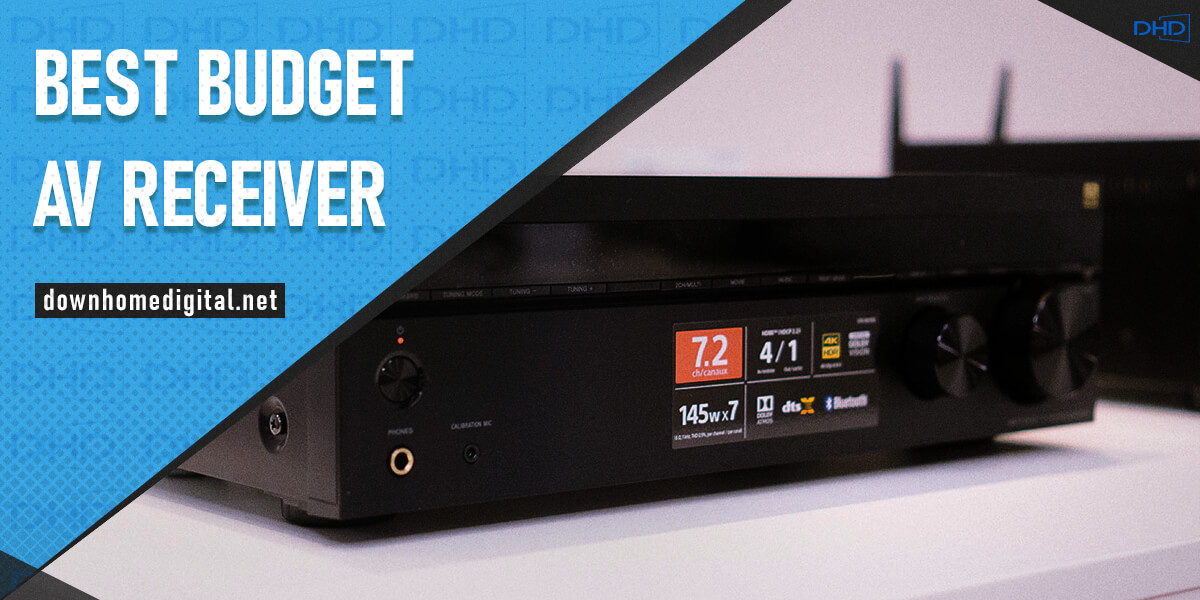
Do you feel like upgrading your current home theater system to get that cinema-like experience without leaving your home? Many people buy an AV receiver, which is a smart thing to do.
Best 7 Channel AV Receivers
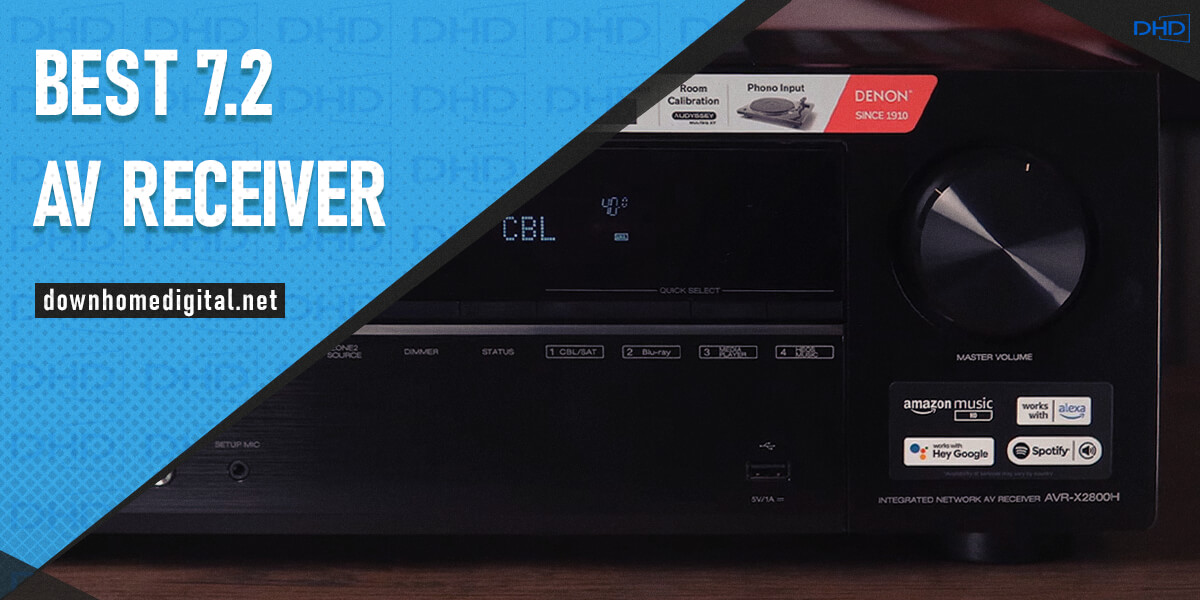
An AV receiver can be called the heart of any home theater system. Nowadays, such devices have become genuinely universal and multi-functional, so you need to devote some time to grasp their peculiarities.
Best 9 Channel AV Receivers
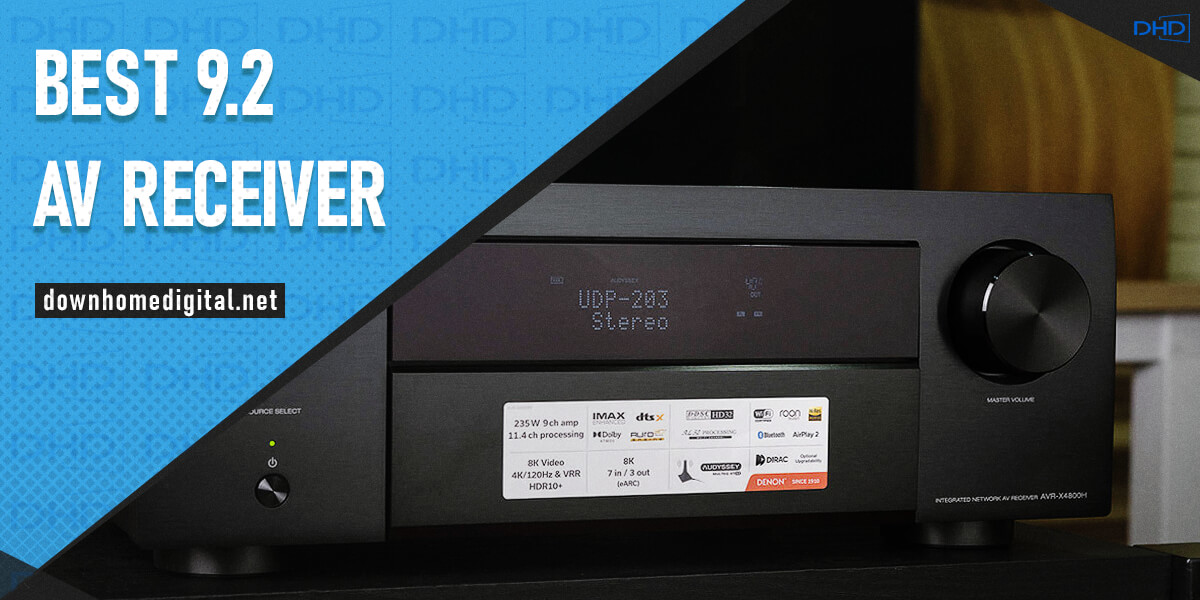
Today, the home theater sphere has become considerably democratized. Gone are the days when you had to put aside some of your savings to make the long-awaited purchase. The range has diversified without sacrificing technical performance.